There are some projects I’ve done around the house which I always assume I’ve blogged about but actually they were done wayyyy before the blog even got started. This is one of those little projects. We picked rope as this month’s Monthly DIY Challenge item and while I LOVE to work with rope (see this, this, and this), I was drawing a complete blank on something to make this time.
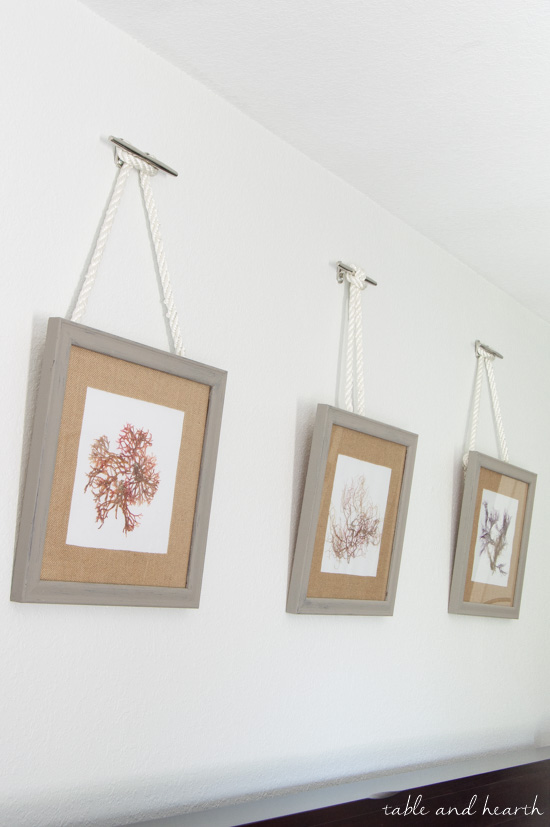
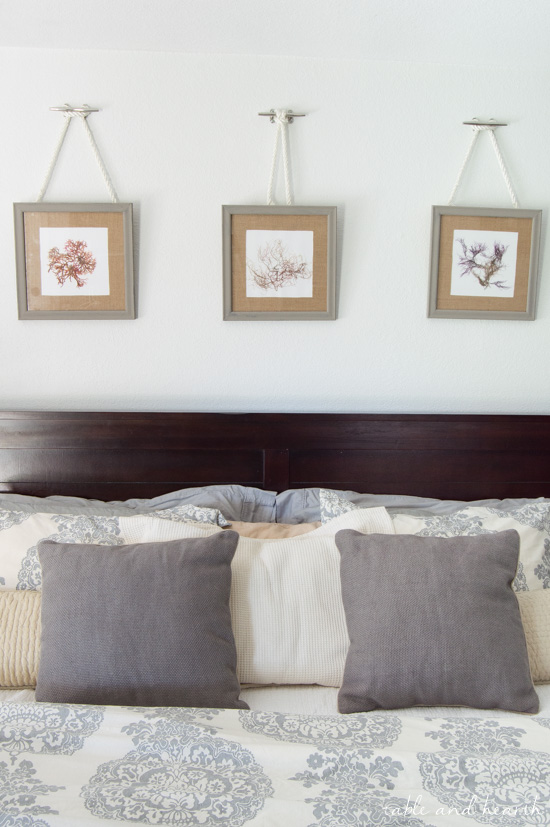
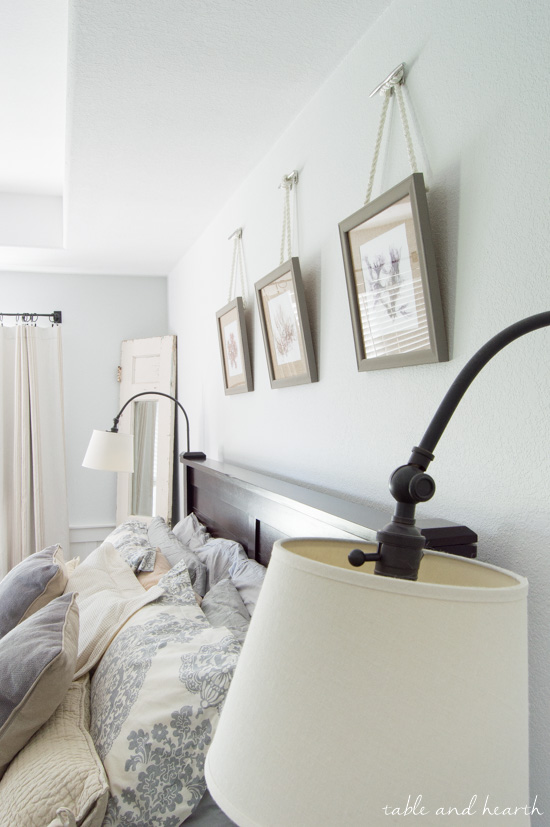
I was picking Matt’s brain on ideas and right away he said “what about those frames in our bedroom?”. Of course, I’ve never done a post on those! These were inspired by a picture in a Pottery Barn catalog many many years ago and were the perfect thing to go above our bed in the master bedroom. I had three of my framed algae prints that needed to hang above our bed but needed some ooph and this was perfect, plus we had the rope and cleats already (thank you boat-supply-hoarding-husband).
DIY Nautical Rope Picture Hangers
Supplies
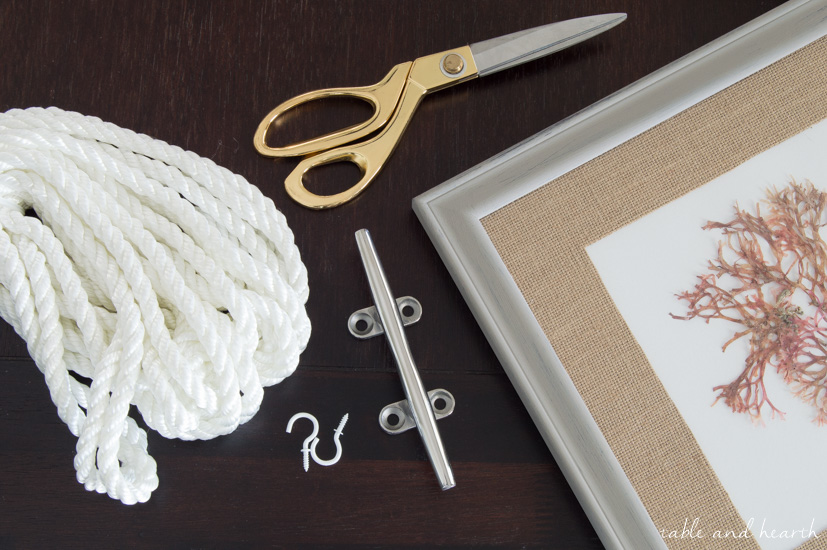
Four supplies you guys, that’s it! And other than the cleats they’re things you’ll likely have on hand which is always a plus.
- metal boat cleats and screws
- rope
- large screw-in cup hooks
- scissors
Instructions
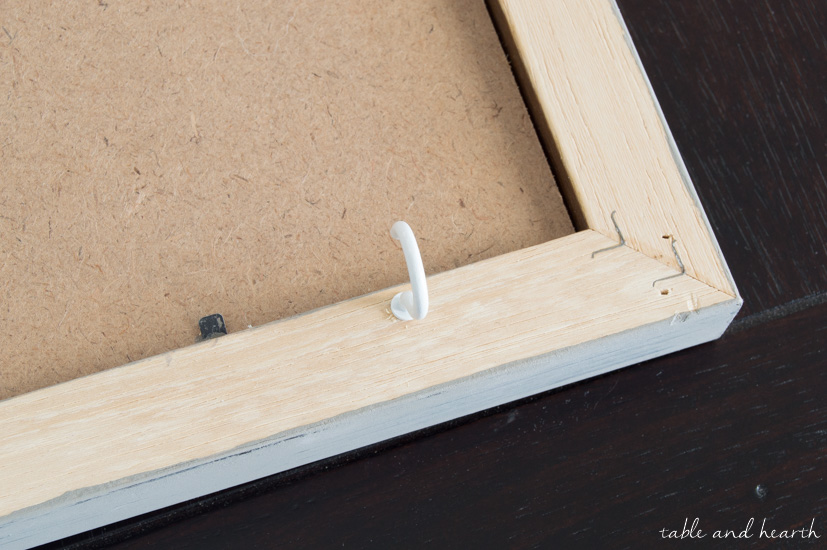
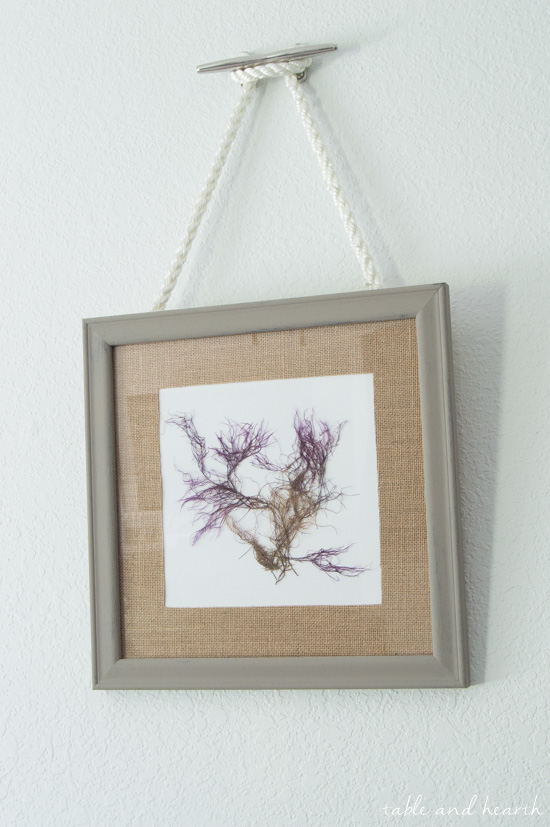
First you’ll screw the cup hooks onto the back of your frame. The positioning will depend on how far apart you want your ropes to be (you can see below that I did the center frame with them closer together). I was able to do mine by hand since I had wood frames but if you need to you can do a little pilot hole. The opening needs to be facing down when you get them tight.
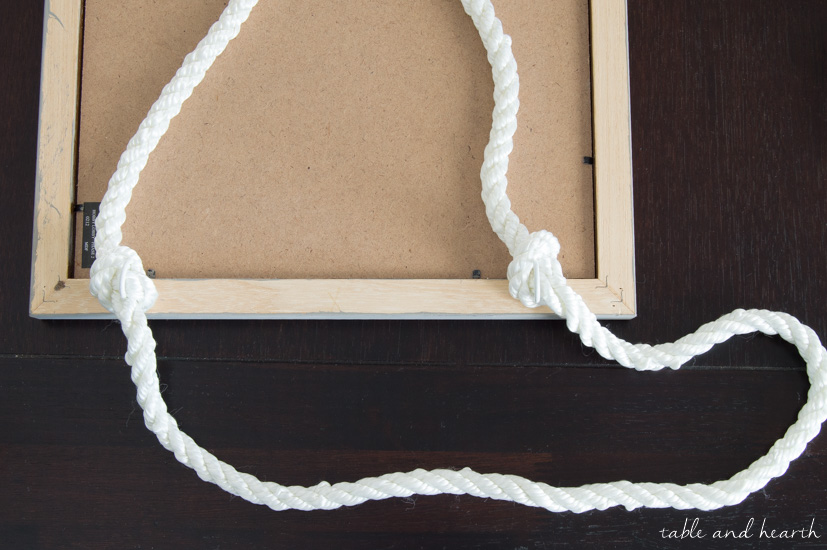
Cut your rope to the length you’ll need (be generous) and tape off the ends so it doesn’t unravel on you. Tie a simple knot in each end of the rope then work the hook through the knot. You’ll have to play with it some to get the majority of the knot on the underside of the hook so it doesn’t show above the frame.
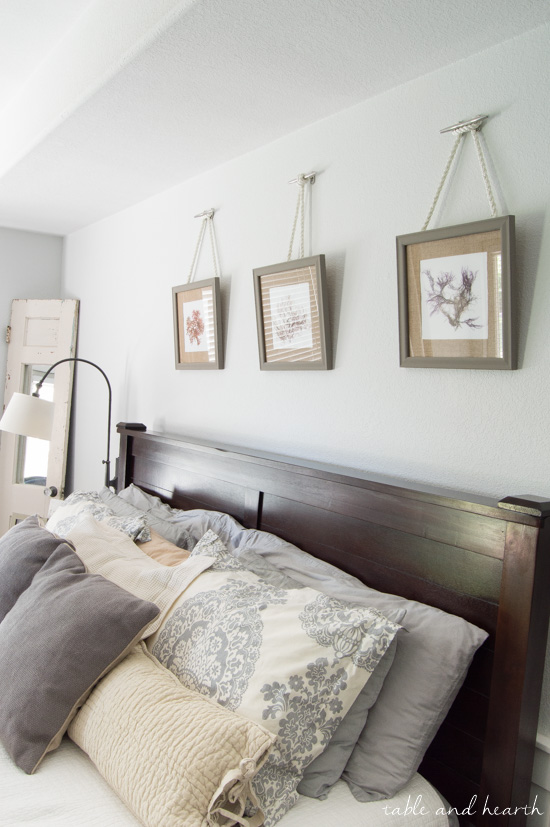
Next install your cleats on the wall using screws and anchors then tie your rope on them using any sort of nautical knot. I only know two that would work here so I did the same one on the outer frames then a different one in the middle.
You’re all done! Such a quick way to add a coastal/nautical touch to a space and definitely a unique way to display art. I think it’d be amazing to have two rows of three on a super tall wall or even have more than one frame hanging from each. Also, I need to learn more knots!
I loved having rope as a challenge item since it seems to pop up in so many places around here, and this has always been my favorite rope project so I hope you love it!
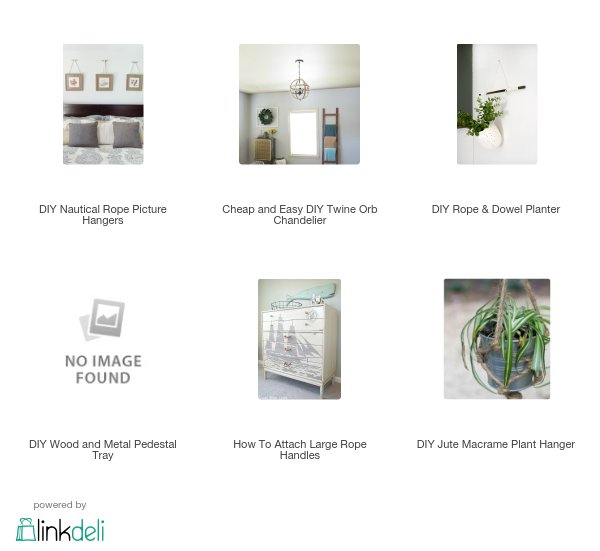
See what the other girls made with their rope by clicking the images below:
Share this!






They turned out so great! I love the metal cleats you used to hang the pictures, too!
Thanks Amanda!
These are SO cute and perfect for your coastal home!! LOVE!
You are sweet Nicole, thank you!