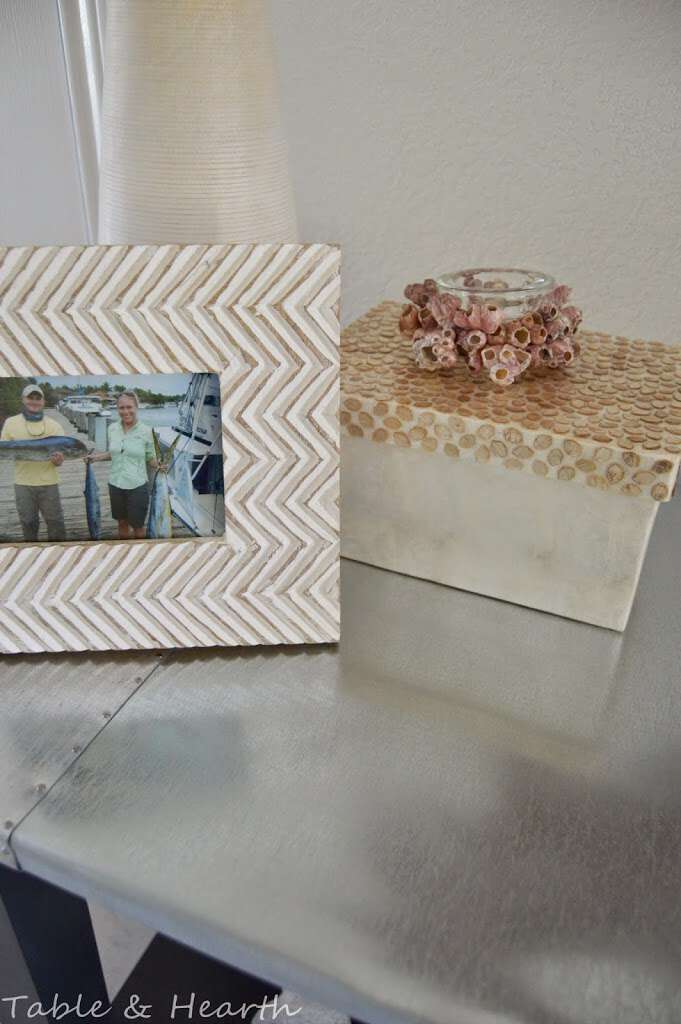
Last month, I decided our entry console table area was just not cutting it anymore. There was just too much brown: brown wood table, brown wood art, brown wood mirror, tan/beige accessories…so I decided to paint the table.

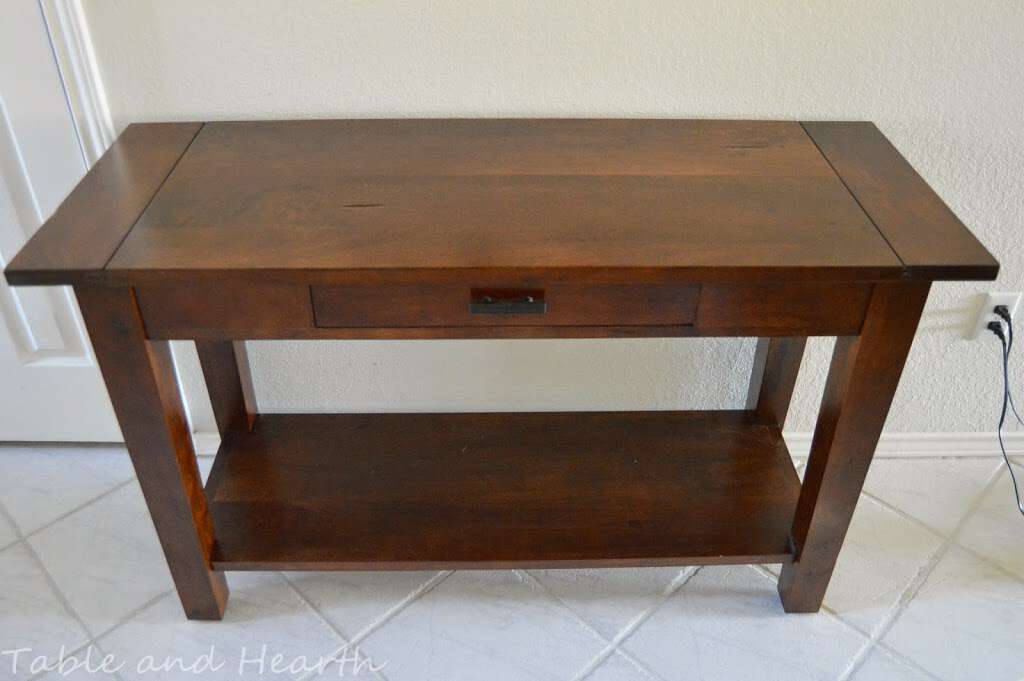

We got this table a few years ago from World Market for about $40 suuuuper on sale, so it didn’t scare me too bad to do something to it. I’m not a huge bright color fan but I knew I could find something that was more me, and I settled on making it a gray/navy blue. Somewhere between deciding on the color and getting started, I saw this picture (from Fixer Upper, shocker) and a lightbulb went off, put a metal top on it! I did a little more research and was further inspired by this, this, this and this, but there really weren’t a lot of tutorials I could find so I was just going to have to wing it.

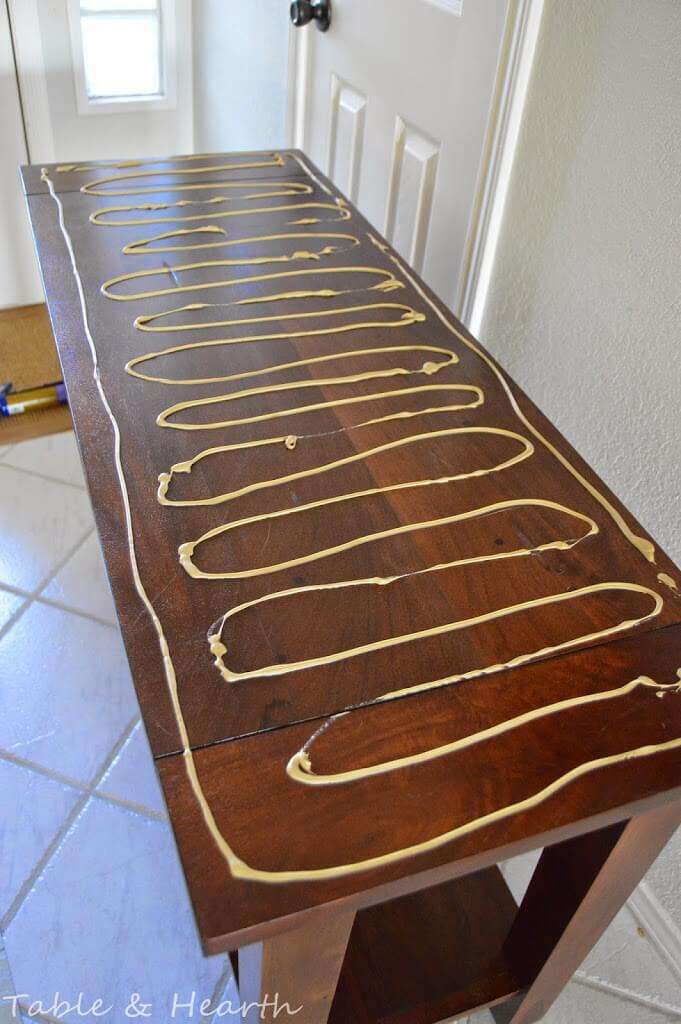
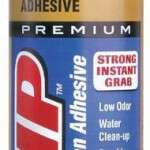
To adhere it, I generously squirted Liquid Nails all over the table, then placed the table top-down onto it, lining up the edges. Make sure and put a towel down first so that the metal doesn’t get scratched up if you have hard floors. The table was just as wide as the sheet so to cover the smaller ends, I had to go back and get two smaller 12″x24″ pieces ($10/each).
I let the table sit like that for a few days to make sure it was stuck well so I painted it while it was doing that. I REALLY didn’t feel like sanding this thing so I gave in and finally joined the chalk paint train. Not for the distressed, shabby, antique-y look it’s usually used for, just for the no-prep reason. I put one coat of Annie Sloan Graphite on the table and, while I got some Napoleonic Blue too thinking I would mix them for the second coat, the Graphite came out with such a blueish tint to it that I loved it and just went with all Graphite (and clear wax).


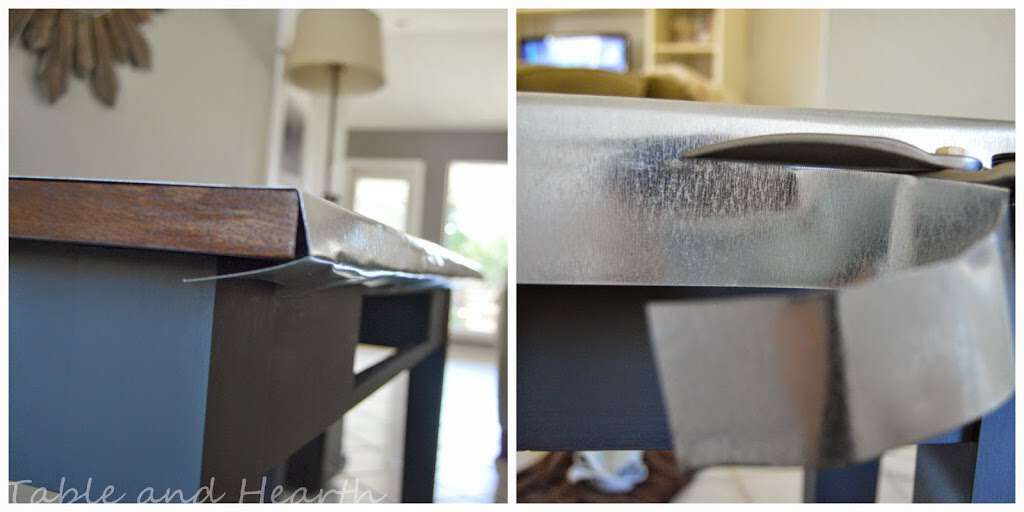
Everything was all fine and good to this point, but the metal manipulation stage was where this project’s difficulty was way underestimated. I quickly realized I was at that point in DIYs where things come to a screeching halt but you still have to press on and overcome. I got the thinnest metal there was but it still took some muscle to bend it cleanly around the edges and I used a rubber mallet to help if it needed it, although it made dents if I wasn’t careful.
To attach the metal, I initially thought a heavy-duty staple gun would work for the underneath but they did this :/

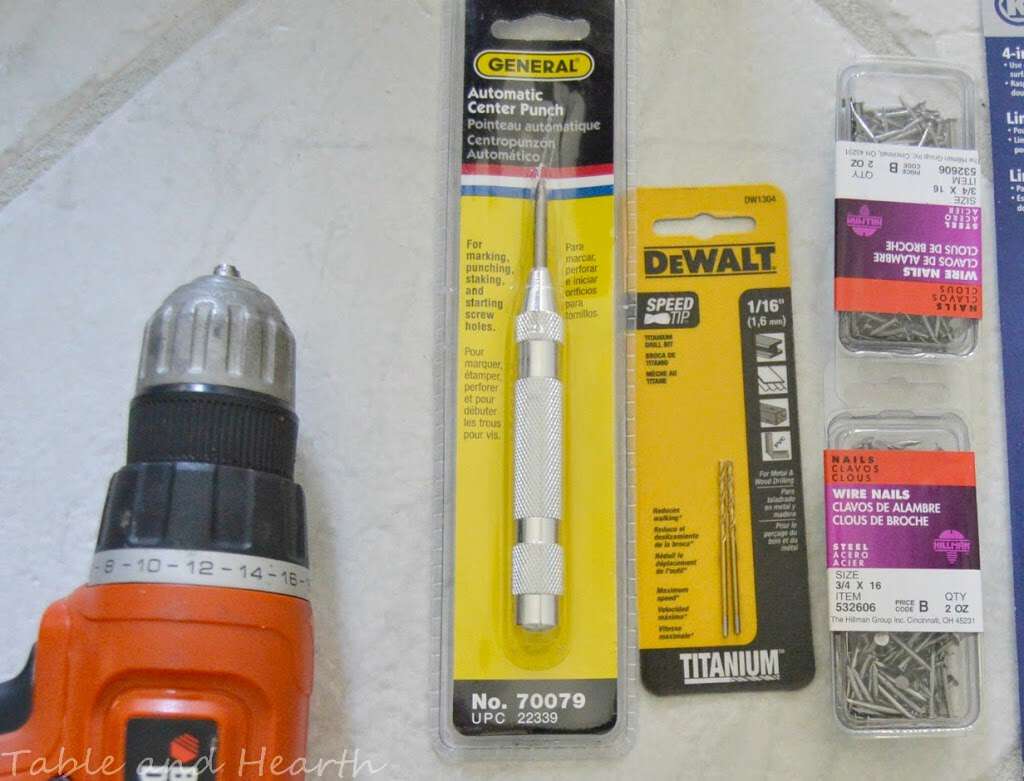
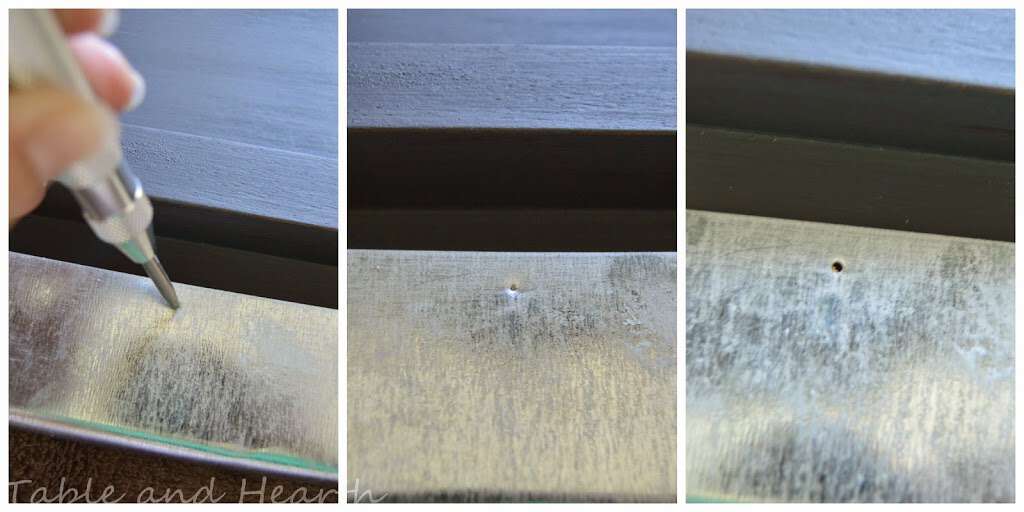
So, I was going to have to nail it all down. I totally scoffed at the Lowe’s guy when he said I’d need a center punch but it was definitely an essential part of this project! Without a punch, the bit just spins around on the metal and scratches it and it takes a lot of patience to get it to “bite” and start to drill. I’m sorry Lowe’s guy. So, I made a dent with my punch, then pre-drilled a hole with a 1/16″ bit and hammered in these small wire nails. The front lip was a nice clean edge but the back has no lip so it had to be trimmed with metal snips that left a pretty jagged edge (which I was injured by a number of times…wear gloves!!!) so I hammered the sharp parts down but plan to put a small piece of trim or something over it down the line.
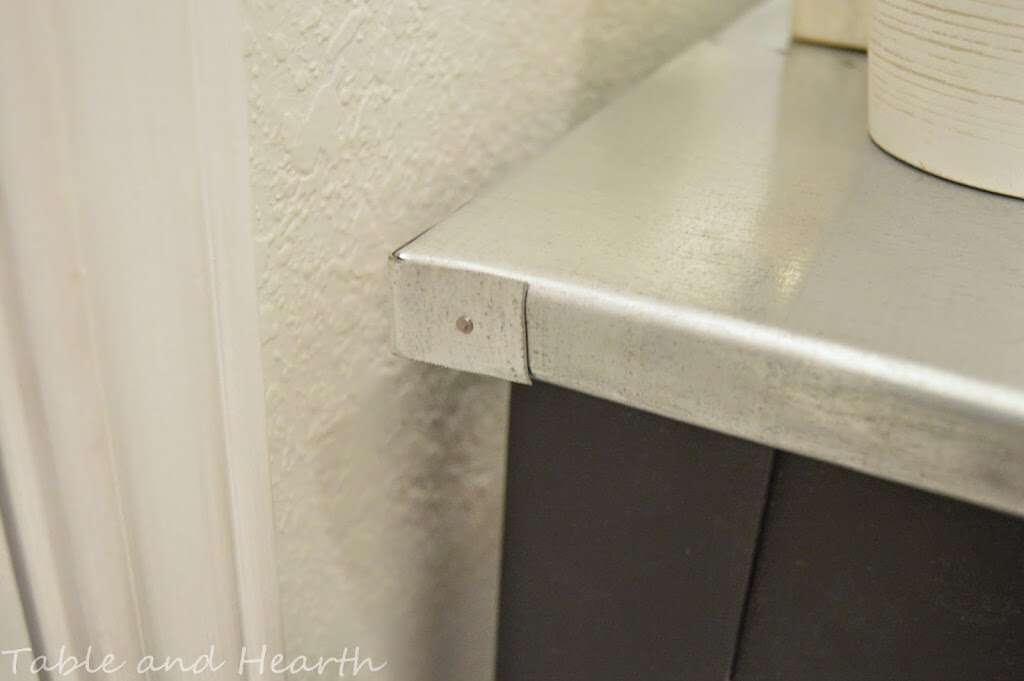
For the ends of the table, I measured how much of an overhang would give me a clean fold-over, and let the rest overlap the top (which I knew I would love the look of from this inspiration photo). I clamped them on, marked where they needed to line up, then Liquid Nailed them on and put the table on its top again overnight to make them stick, but they do pop up a little, no biggie though. I marked all my nail holes for the top seams then nailed a few in to make sure the pieces stayed put while I cut and bent them.

I trimmed out the corners as straight as I could with the snips but they weren’t very pretty at all so after failing to find corner brackets that fit at the store, I cut some scrap pieces to use and nailed them on. Everywhere I had to drill into two layers of metal, it took a good minute or so for each hole so just be patient with it. I’m sure changing to a sharp new bit every once in a while would have helped but I didn’t have any extras (I broke one off in a hole right off the bat of course).
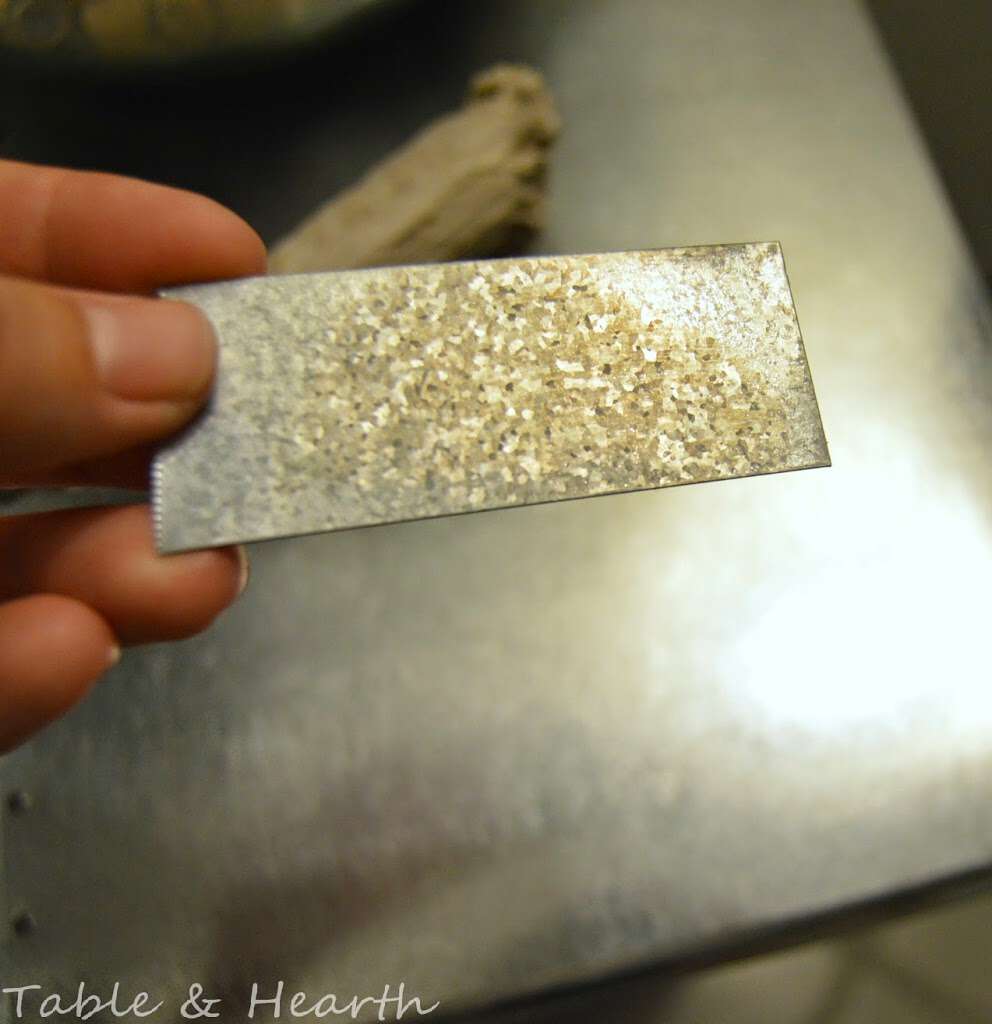
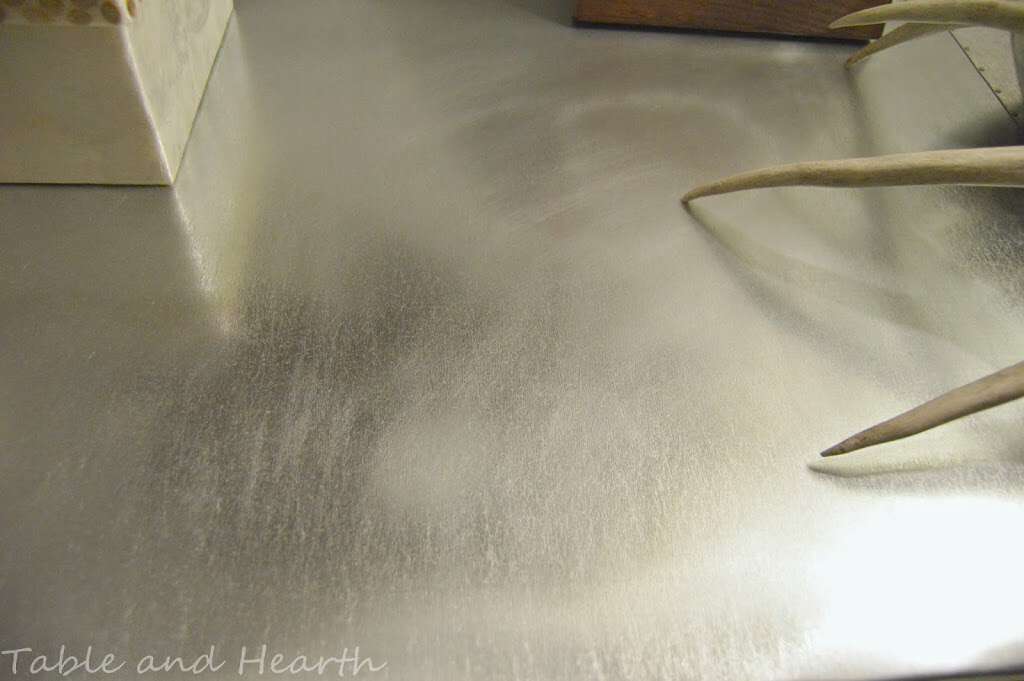
I did some research on how to age the metal and was going to try muriatic acid but since it was raining outside (and we have 12 bajillion mosquitoes currently), I tried the acidic toilet bowl cleaner method on a scrap. While it did age it, it made it more “glittery” and I wasn’t a fan, so I nixed that idea and just lightly sanded it all with fine steel wool. I may try something again down the line but I don’t mind how it is now actually.
So here’s the afters!

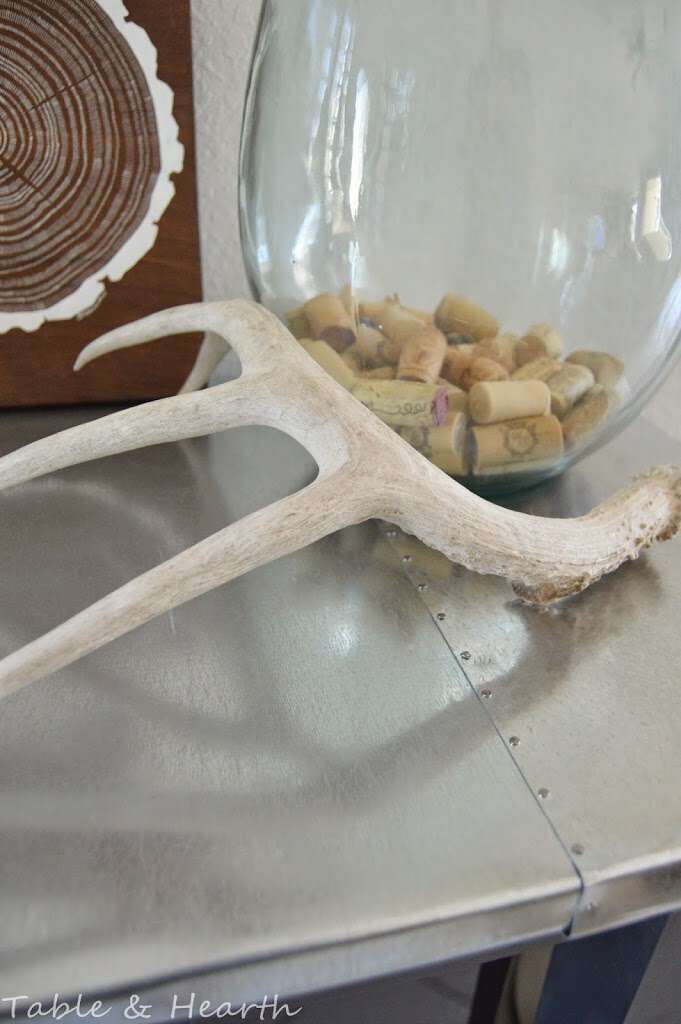
Oh man how I love those “riveted” seams on the top!!!


So although my simple “paint the table” update turned waaayyy more complex, I’m pretty proud of it! All the speedbumps I worked around, the half a dozen trips to Lowe’s, and all the cuts, it all worked out in the end and it looks so good! The brightness of the metal makes the space look bigger and the hint of blue in the paint is just right. No more brown blob! Since I had to buy the chalk paint, its supplies and many of the tools/doohickies, this project probably came in about $200, but if you have the paint and all that already, it would only be the cost of the metal, so about $60 depending on how much you needed.
Next time I metal-top anything, I honestly will probably go the fabricator route just cause the metal is so hard to work with, with the uneven bending, difficulty cutting, and the not-perfectly-angled edges. It would totally be worth the $50-$100 to me to have them make a piece that perfectly fits which I can just plop on and nail down.
I am so glad I didn’t just paint it cause it really feels like a new unique piece now :)


drill

3″ brush

staple gun

metal snips
center punch
liquid nails

wire nails

metal sheeting

rubber mallet


Totally worth the effort! SO cool!!!
Yay, thanks Kristi!!!
Very cool makeover. Loads of headaches getting there but once you did – so worth it!
Definitely a huge relief to be done Marie! Thanks!
Looks terrific! Thanks for doing all the work in figuring this out, Makes it waaay easier for us.
This makes me so so happy Diane! It’s the whole reason I started blogging…I always hope that what I put out here can help someone somewhere, it’s how I learn everything too :)
So beautiful Emily!! And such a clever idea.:) Great job!
Hi there Shannon!! Thanks so much!!
Oh my gosh this is so awesome! I can honestly say that I would never be this creative. It’s beautiful :)
~Meaghan
Aw, you’re so sweet Meaghan! Thank you :)
Wow this is seriously amazing!! I have the utmost respect for great DIY projects like this one and people who can carry them out so perfectly :)) Your table looks so fab! Thanks for visiting. Very happy to be visiting back from SITS and discovering your internet home. XOXO, Elif
You are so sweet Elif, thank you! My projects are usually far from perfect but from afar they look okay ;)
Emily, this rocks my socks!! I know it was super difficult and all, but can you make me one?! :) Seriously, this turned out SO great!! I love the industrial modern look it gives the space. All your time spent was well worth it :)
Sure! I worked out all the kinks on this one :) My house is like a showroom full of floor models, the stuff here is all shoddy and messed up but when another one gets made, it looks ALOT better ;)
What a fabulous idea – LOVE this !
I had to laugh out loud at your reply to the comment above – my house is like a showroom too, full of floor models – too funny !
xoxo
Ha, thanks Suzan :) Or like tester lotion bottles… used and abused, and beat up. Practice makes perfect, right?!?
This is such a glorious update! I love the chalk paint contrasting with that sleek metal top. Isn’t it great when you can make something you’re tired of into something you totally love? Amazing job–thanks for sharing on The Makers!
Amy | Club Narwhal
I love it SOOO much now!! And to think I was thinking about selling it and buying a new one :) Thanks Amy!!
This is a great idea! I have a cheap-o bookshelf in our entry way that has gotten too much “loving” from our kids… top is bubbling up thanks to drink glasses set on top. I could maybe salvage it this way. Pinned!
I bet you totally could! If you do send me pictures :)
The transformation on this is awesome! I love the industrial look! Thanks for sharing! Also wanted to let you know about a new linky party starting this Saturday at 8pm called “Found & Foraged” Can’t wait to party with you at
Thanks so much Kyla :)
Fabricators? How do you find one of those? I love yours but my table top measures 28” x 44” so I would need sheet metal 30” x 48” right? It’s going to be a kitchen work table so a seam might not be so great.
I just googled “metal fabricators” in my area and gave them a call to see what they could do.
I am so flaming impressed with your stick it to-iveness. You are incredible and must be pretty darned strong. Wow, having to cut and bend that metal. And how you figured out how to make corner brackets for table, you are so clever and very determined. Then the graphite color on table, incredible, you are too talented. Have to say I’m very envious of your wonderful innovative new table. Happy week and enjoy season Is it cold where you are yet?
Thank you for such sweet compliments, what an awesome way to start the day! It means so much to me and I really just want to show that if I can do this, anyone can do this. Things may not come out perfect (never!) but it’s the fact that we figure it all out ourselves that is important :) And yes, our first good cold front blew through yesterday and I love it! 47 degrees and raining right now :)
I am impressed with your hard work on this one. I’m pinning! :)
Thank you Christie :)
Wow! What a huge difference!! I have pinned your post to the Pin Worthy Wednesday Pinterest Board. Thanks for linking up with me and my lovely co-hosts! See you next Wednesday!
Yes, see y’all then! Thanks Chelsea!
This turned out SO amazing! I would not have the courage to do all that metal work like you did – you’re a rockstar! Love the nail trim on the top. So, so, so, so love this!
I had the courage, then lost it as soon as I snipped into it :) The nail trim took forever but there are no words for how much I love that part. No words.
Wow, I love how it turned out. I like the ‘rivet’ look that the nails gave as well. Nice job!
-Leia @ Eat It & Say Yum
Aren’t they awesome?!?
I love it! It turned out beautiful.
Thanks so much :)
It looks awesome! What a difference! You should be very proud! Thank you for sharing this wonderful idea!
It ended up being probably my favorite DIY so far :) Thank you!
Love what you did here and thank you for sharing at my party. You will be featured at my party this week.
Blessings,
Linda
Yay!!! Thanks soooo much Linda!!! Love your party :)
This came out great, definitely not an easy project! Love it, sharing on my Facebook page!
You are awesome Roxanne, thank you!
Gah! Love, love, love this! So glad you stopped by our party! Hope to see you again next week.
Yes! Thank you!
What a transformation!! LOVE it!! Thanks for linking up with us at the Motivational Monday blog party! Hope you’ll stop by again this week!
Happy Sunday,
Danielle
SewMuchCrafting.com
You know it! Thanks Danielle!!
What a great idea! I love how it turned out! Looks great! You are my feature this week at Pin Worthy Wednesday! Thanks for sharing with us.
Eeeee! Thank you Tara!!
It turned out so great, Emily! All your hard work definitely paid off!!
I was so worried but it did eventually, thanks :)
This turned out AMAZING. I love the details with the nailheads on top. I’ve been in love with those trunk steamer chests from Restoration Hardware for the longest time now, but figured metal was outside of my DIY capabilities. So thanks for letting us know it can be done! (And thanks for taking one for the team so we know how hard it REALLY is!!!) I’m so glad you linked this up at Found & Foraged. Please come back this weekend and forever! xo, Laura
Ha, taking one for the team! That’s what we do, right?!? Thanks so much Laura and I LOVE Found & Foraged, will be back ‘fo ‘sho!
Emily, I love this table so much I’m featuring it today at Your Turn To Shine! Thanks for linking up with us!! :)
Awesome Amy, thanks so much!!!
This is soooo awesome! Thank you so much for linking up at Found & Foraged! PINNED! Hope to see you again this Saturday night at 8PM at
Such a great party, you know it!
Totally love this! Great job!
Aw, thanks so much Julie!! So glad you like it!
Such a stunning makeover – I love it! Thanks for sharing at the Pretty Preppy Party!
Thank so much Sarah :) I LOVE your style so I’m so glad you like it!
Emily–great job! We’ll be featuring it as one of our Pretty Preppy Party favorites tomorrow at 11 Magnolia Lane.
Awesome!! Thanks so much Christy, and thanks for the party!!
This table is incredible, Emily! I never would have dared to cover a wood table with metal until I saw your post and now I’m looking around my home to see what I could cover…. Thanks for the inspiration!
Aw, thanks Carrie!! I luuurrrve it and you should totally do one too!
Love it, turned out great!! Also, love that mirror! Where did you find it?
Thank you Erica!! I got the mirror from Joss & Main a year or so ago but Kirkland’s actually has one just like it now (and half the price!)
Thanks so much for this great tutorial on how to make a metal table. Metal is one of those materials that I shy away from because it’s hard to work with, but I can see from your instructions that if you just have the right materials and tools, making a great table like this isn’t hard at all. I appreciated the tip to not use a staple gun to attach the metal gun. I will definitely be sure to get myself a center punch to make nailing it all down easier. Thanks again for this great DIY– very creative!
I’m so happy you found it helpful Meg!! It definitely was alot harder to work with than I had anticipated but when I just slowed down, asked the guys at the store for advice, and took it bit by bit, it finally all came together. Good luck and I would love to see your project!!!
That’s so cool that you wrapped the metal around the edge and underneath the table top. I was thinking of just applying the metal to the top of the table. Not only will wrapping it make the table top more sturdy, but it will be more attractive to see the metal wrapped all the way around the top portion of the table.
Thank you for this! I had a vision to try a metal top on my sideboard and you really walk me through the steps here. I’m a DIY beginner but I’ll give it a shot this summer when I have time.
Hi Annie! Like I mention in the post, the metal I used was much harder to work with than I anticipated so be prepared to really have to muscle with it. I really do suggest talking with some local metal fabricators to see just how much having a top made for your piece will be, because DIYing it was an intense project and if I had to do it again I would just pay to have one made for it :/ If you do DIY please send me pics in the end, and good luck!!
Thank you for making the mistakes so that when I try my own project I have a better chance for a good result! I already got some excellent ideas I had not previously considered by reading this.
Ha, always happy to help others prevent those hurdles! This project was a beast and I still wish I had had the top manufactured then attached it myself lol.
If you use an iron on the highest setting. It takes about 3-5 minutes to flatten and to do creases .