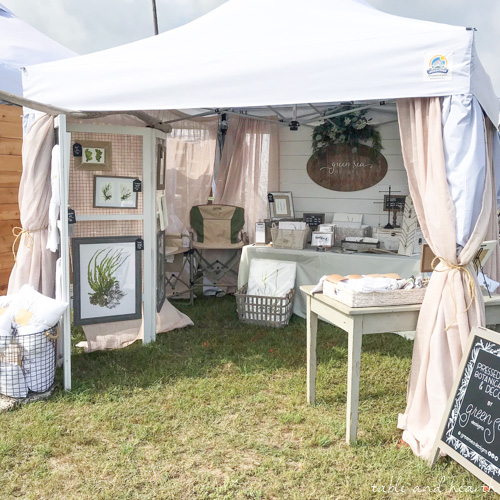
Now that I have started doing various markets and festivals for my side art business, my DIY projects have shifted from things around the house to things for the booth. Part of me likes this even more because 1) they’re usually much quicker/smaller/simpler, and 2) so many more people get to see what you’ve built.
Every time I share an image of my booth setup I get asked about the folding display wall for my framed pieces. It was SUCH an easy build so I wanted to put my tutorial out there in case anyone else wants to build one for hanging their products on as well!
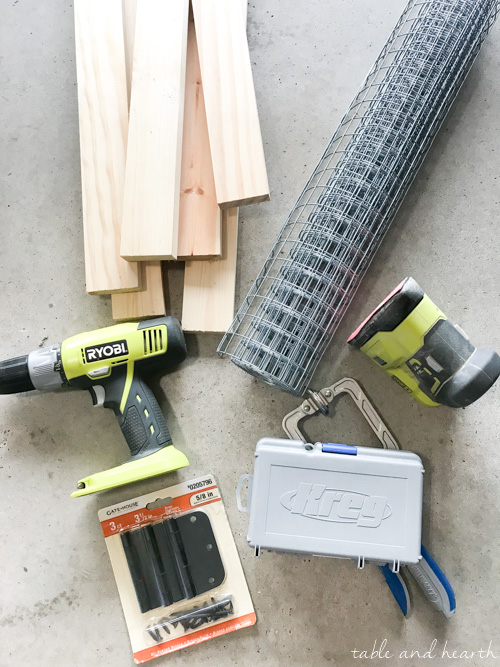
DIY Folding Display Wall Supplies
 affiliate links provided for your convenience, click here to see my full disclosure policy
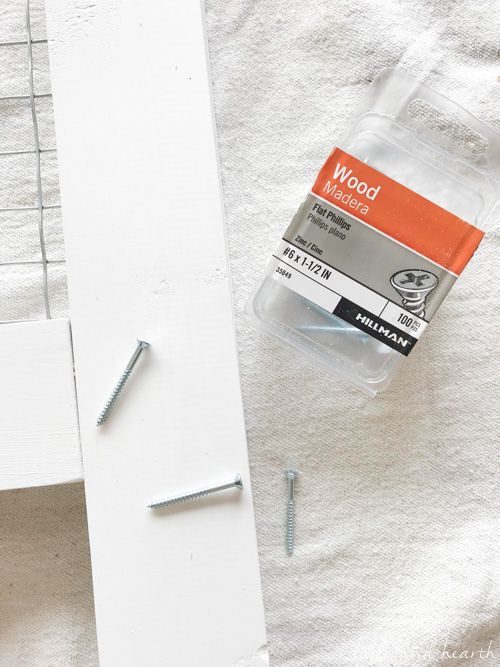
NOTE*** Supplies shown in this pic were for my initial two-paneled wall but I quickly went back and built a third to hold more frames, so the supply list below is what is needed for a THREE panel 6′ tall wall.
My panels are roughly 6′ tall and 2′ wide but you can make these whatever dimensions you need.
- (~15) 1″x3″x8′ boards (5/panel including braces)
- (1) 25′ roll of wire fencing (opening size is your preference, I did the small square one)
- pocket hole jig and corresponding screws
- hinges
- miter saw (or other saw for straight cuts)
- drill
- staple gun
- wood screws
- paint or stain and supplies
How to Build a DIY Folding Display Wall
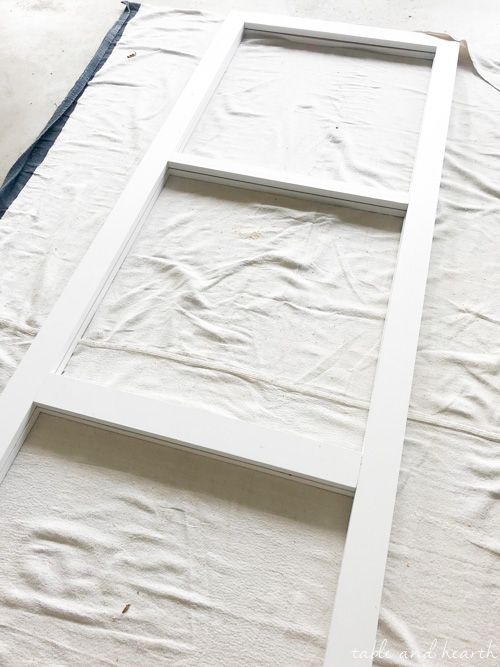
Cut your 1×3 boards down to whatever height you need and then cut some pieces for your top, middle, and bottom braces. You will cut two sets of boards for each panel.
My vertical boards are 6′ tall and my horizontal pieces were cut to 23″ (you’ll see why in the wire step below).

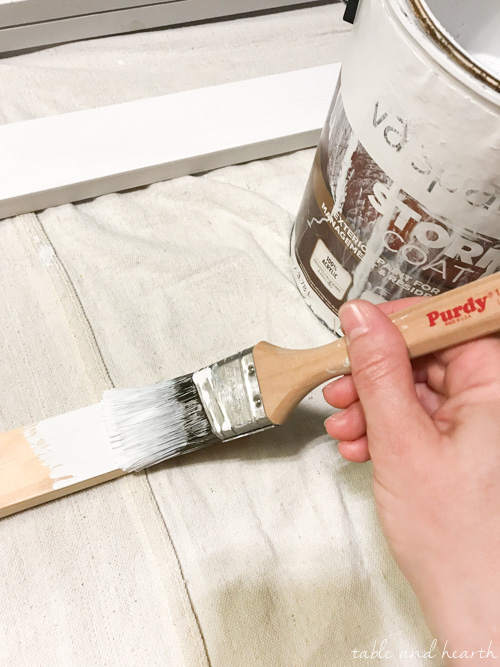
Before assembling my panels, I sanded then gave them a couple coats of a strong outdoor semi-gloss paint.
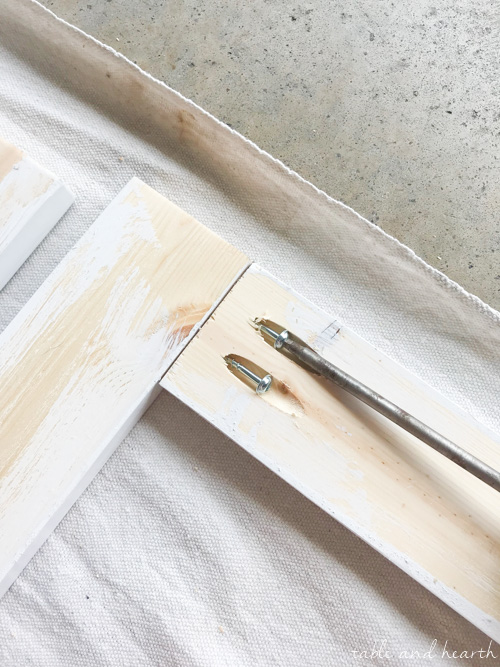
Once everything is dry, lay your pieces out (inside facing up) in order to start assembling your panels. Use your pocket hole jig to put two pocket holes in each end of the horizontal pieces.


Since these two sides will be sandwiched together, check and double-check that all the pieces are the same lengths and that your horizontal pieces are at the same location. Once everything is all set, attach your boards with the pocket hole screws.
You can now stack your two sides on top of each other to verify again that everything lines up okay.
Now you’re ready to add the wire that will be sandwiched between the two sides you just built. Carefully unroll the wire to cover the main part of your panel, use gloves!!
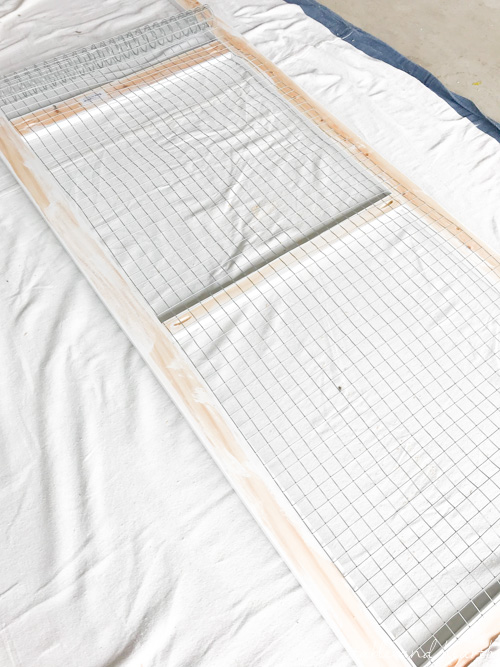
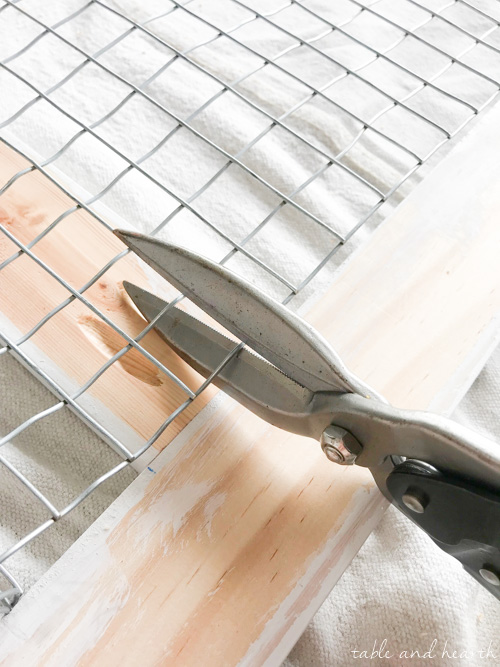
Using the metal snips, carefully cut the wire mesh to size, making sure to leave enough extra on both ends and the sides in order to staple it. *Note: my wire roll was 24″ wide so I made my horizontal pieces 23″ so I’d have some overlap to staple with.
Staple the metal in place at the top of your panel then pull it as taught as possible and staple it at the bottom piece. Then fill in along the sides and braces as needed to make sure it is nice and flat.
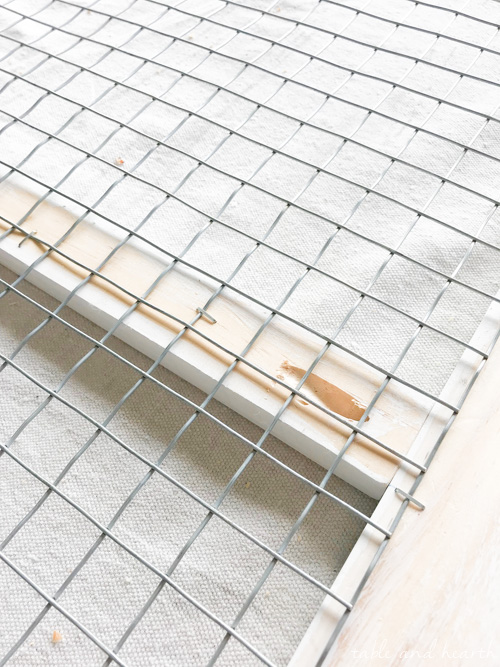
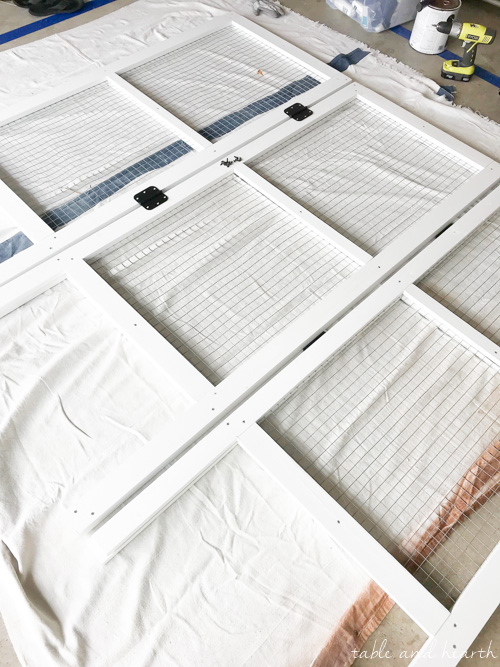
Now stack the two sides again and screw them together to complete your panel. I did two screws in each corner of my panel then one screw in the middle of the braces and middle on the sides (you can see them in the second pic below).
Repeat these steps two more times to build your other two panels, or however many panels you’d like your wall to be. Once they are done, lay them out with all the screw-sides facing up and place your hinges where you’d like them to be. I put mine in the middle of the two boxes. One set of hinges will go on top and the other will go underneath so that it will fold in a zig-zag when done.
The wall is nice and heavy with the three panels and is quite sturdy standing on its own. Even with two panels it was pretty sturdy and I’ve done a whole market with it just standing and not tied down to anything. Its 6′ height brings it to just below the top of my tent so if it is windy or high traffic I am able to zip-tie it to the tent for more stability, but I usually do it as a safety precaution no matter what.
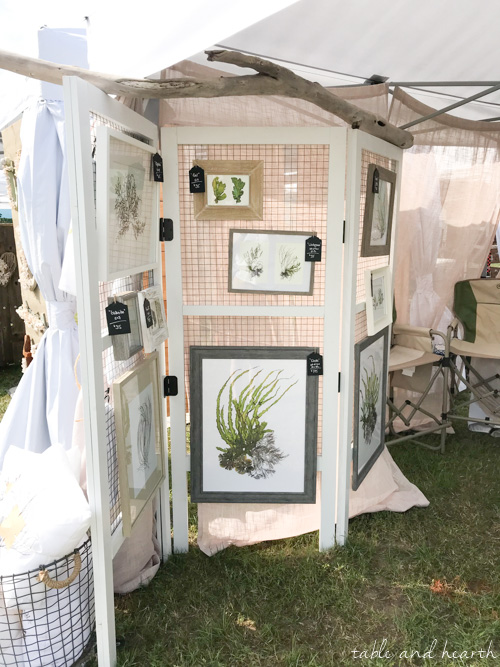
I am able to display about up to 10-12 framed pieces on it depending on size (I use drapery hooks to easily hang them), and I can also hang stuff on the back side if needed depending on the layout of my space. At this market I clipped some of my tea towels onto the front panel to catch people walking by.

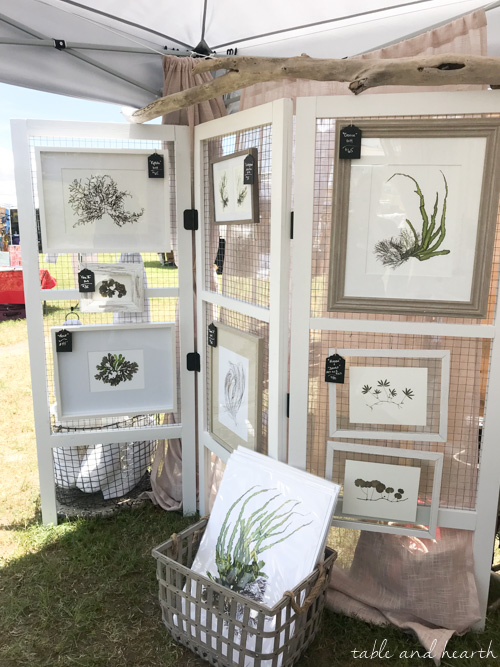
This thing has been such a workhorse for my markets and it makes me happy to have something else handmade and unique in my booth, and also happy not to use generic gridwalls. I think the white wood and rustic wire fit my brand well and allow the art to shine too.
This little wall may be the best thing I’ve DIYed for my booth and it was so simple and low-cost to do! It has been so perfect for quickly hanging my framed prints but would work great for a ton of other products as well. Plus you can make as many panels as you need, and detach them to adjust for various venues.
I’ll be back with another tutorial for my DIY square concrete tent weights soon!


wire fencing

1×3″ boards

hinges

miter saw

staple gun

drill

sander

Kreg jig

Kreg clamp

metal snips

3″ brush

wood filler

speed square

tape measure

safety gloves

drapery hooks


DIY Shiplap Backdrop

My first market booth

Rustic White Booth Design


Share this!
This is just what I have been looking for to display my craft items which are all based on my sea shore finds.
Thank you so much for sharing this.
Is your shiplap wall and table 6’ wide? I would love to see what the other side of your booth looks like. I have a wall similar to this that I use at shows.
Hi Jessica! Yes, the wall and my table are both 6′ wide. I unfortunately don’t have a photo of the back of my wall, either this initial version or a new one I made that is similar, but the new one looks like shiplap on the back as as well and I painted it in case it would be visible at some events.
This is super helpful for a newbie-thank you for sharing! I’m curious how you hung your curtains-your booth is really well put together
Great! The curtains are strung on a rope which is tied to each corner of the tent.
Hi Karen
Sorry if you’ve commented about this, I obviously haven’t read the article enough, but I was wondering how you keep it upright when the ground isn’t level?
I have never used this wall or the version that came after it on unlevel ground, so unfortunately no advice there. I would think maybe sandbag or something that can be molded to the incline could help hold the bases level, but it would need investigating.