Happy Friday everyone!!! I hope you guys have enjoyed Spring Patio week and have found some inspiration for getting your outdoor spaces all pretty and ready for spring! In case you missed it, I’m sharing the tutorials for all of the DIYs we did for our patio makeover project last fall for the One Room Challenge. Click the images below to go to the other tutorials from this week:
Bookshelf to Bar Cart

No-sew Outdoor Curtains

Rustic Patio Makeover
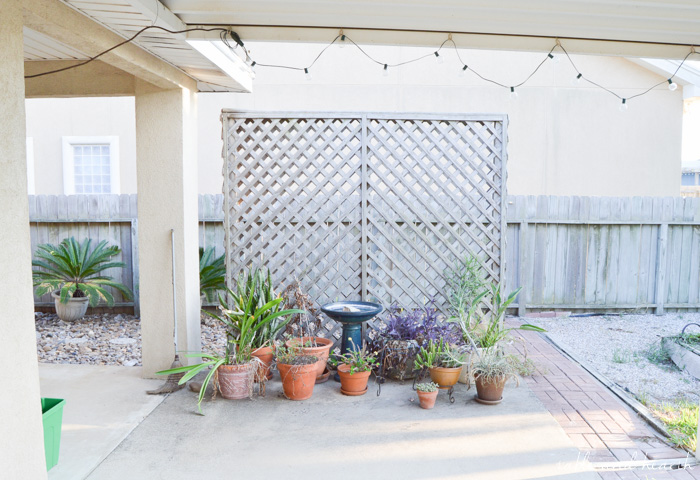
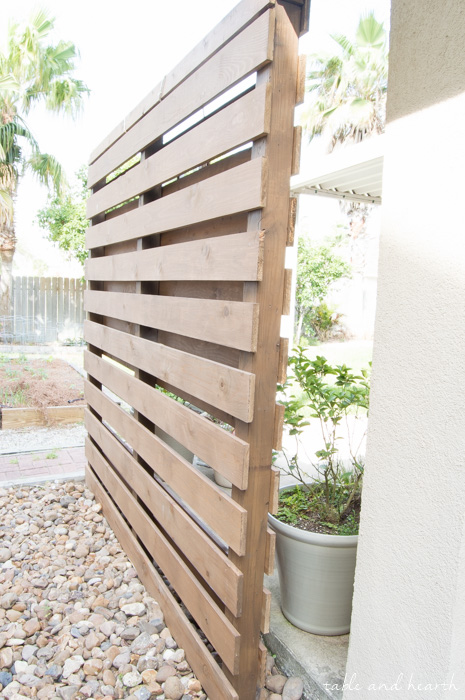
Today is the finale of this little series and I’m showing you how we updated what rivaled our old pergola as the biggest eyesore in our backyard, this sh*tty weathered old lattice “privacy” wall. I’m not a fan of lattice, but I’m definitely not a fan of weathered splintering lattice.
 *affiliate links included for your convenience, click here to see my full disclosure policy
Supplies for DIY Privacy Wall
- 1″ x 6″ x 8′ hardwood boards (check for straightness!)
- Exterior deck stain (I used this in “Hawthorne”, it’s the same as on the pergola)
- Quality wide paintbrush
- Long level
- Something for spacers (we used leftover pieces of 3″ hobby boards)
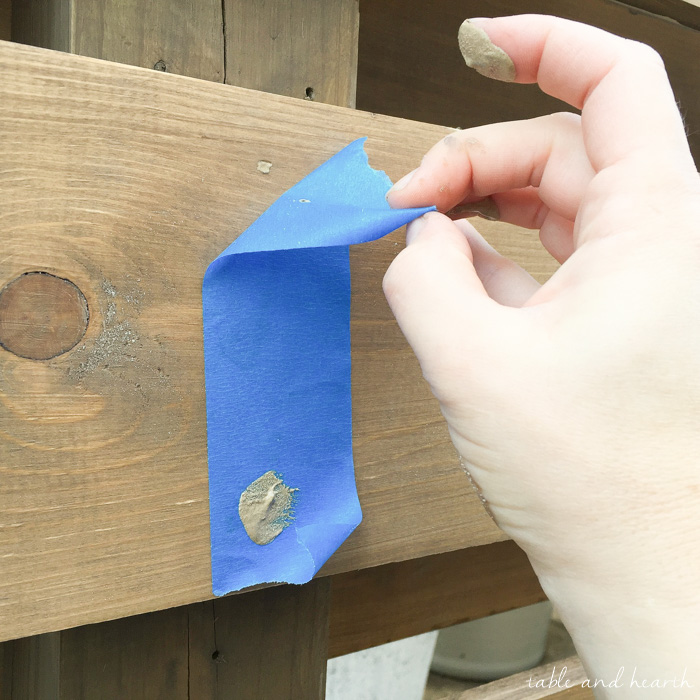
- Painter’s tape
- Nail gun
- Exterior wood filler
- 4″x4″ posts (if you’ll need new posts)
- Cement (if installing posts is needed)
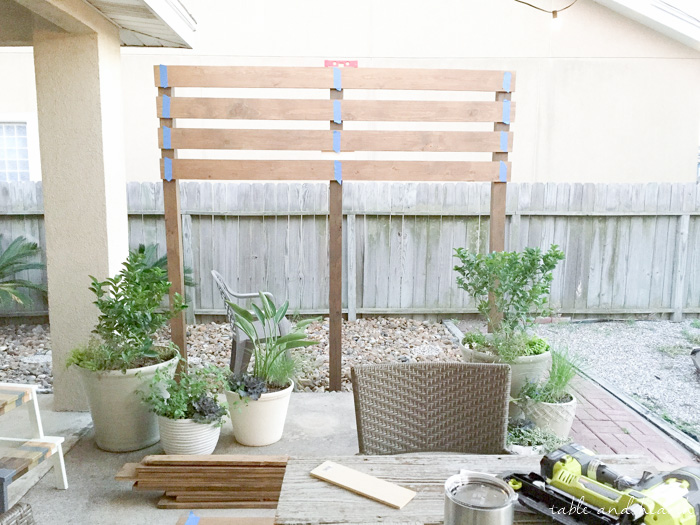
As soon as the One Room Challenge started last fall, I tore off all of the old lattice panels, leaving just the three 4×4 support posts (it was literally the evening of the first day, I couldn’t wait to get rid of it). If you won’t have existing posts to work with, you would just sink them about 2-3′ into the ground as you would if you were installing a fence or a pergola (see us do it on our pergola HERE).
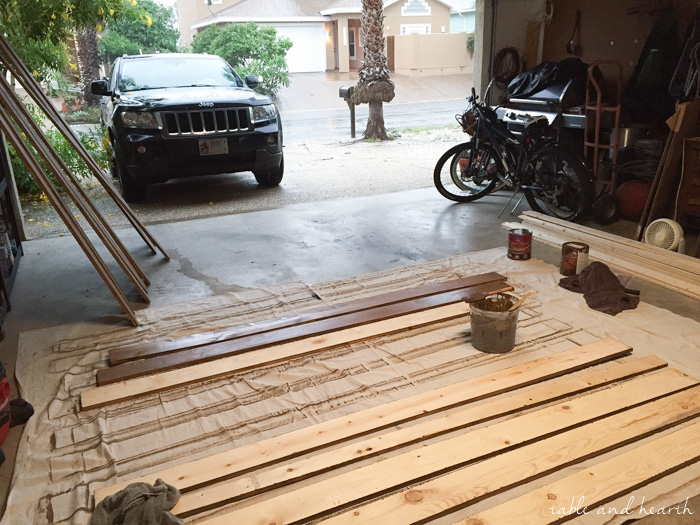
Now, for some reason, these 1″ boards are way more pricey than their 2″ counterparts so if you have a table saw and are able to rip some panels down or something that may help, otherwise just get them as you can. I had some gift cards which helped, but it was worth it to me since they were the exact size I needed. If you make multiple trips though, just double check you’re getting the same size…my last batch I accidentally got 8″ ones, stained them before I realized it, and had to take them back to the store and beg them to rip them by 2″ for me (which they did, and I’m eternally grateful!).
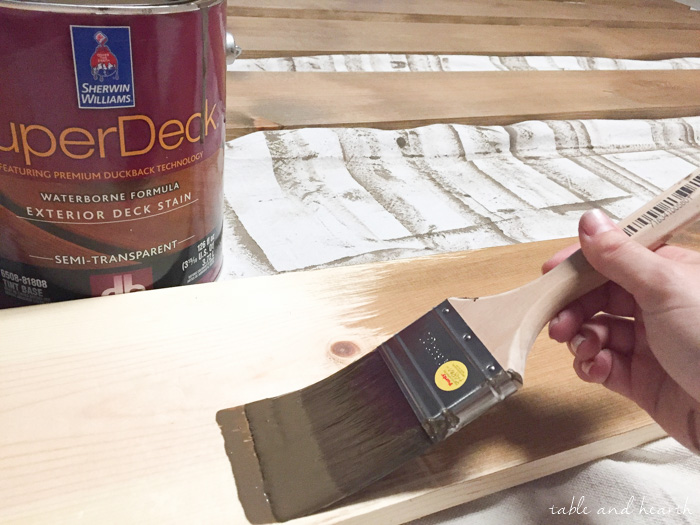
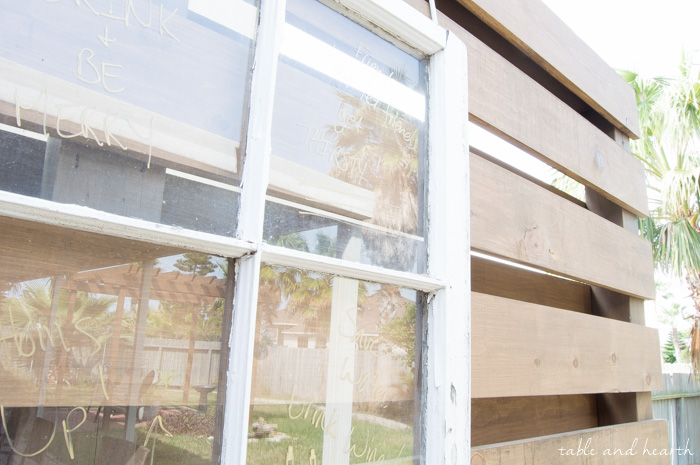
I used the same SuperDeck stain that we used on the pergola so they’d all match in the backyard. I stained the posts first, then got to work on all the boards. Some tunes, a rainstorm from tropical storm Patricia, and a ton of stain and I was ready to go.
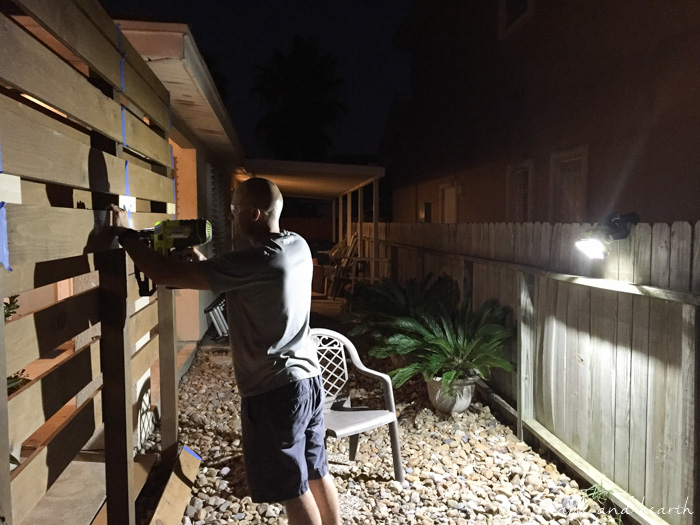
We leveled up the very top piece and nailed it in with our new awesome nail gun. The husband rarely gets involved in my projects but if a nail gun is involved he’s all over it, so you can see who got to put the inaugural nails in with my new fancy gun :/

What’s with the tape you ask? You’ll see later!
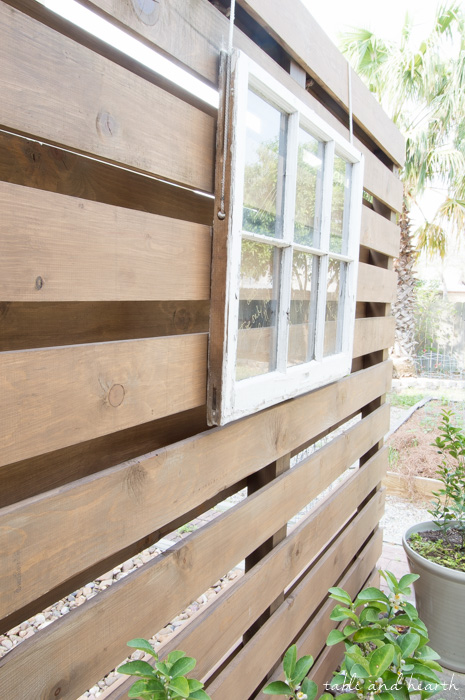
We used three pieces of leftover 3″ battens in the wood stash as spacers, then just worked our way down trying to keep the ends as even as possible.
Then we used one small 3″ plank at the top of the back, then continued with the 6″ ones as before, just starting right at that 3″ one so that they’d be alternating with the other side making it a private wall. (That little worklight I got last summer is a life.saver I tell you!!)
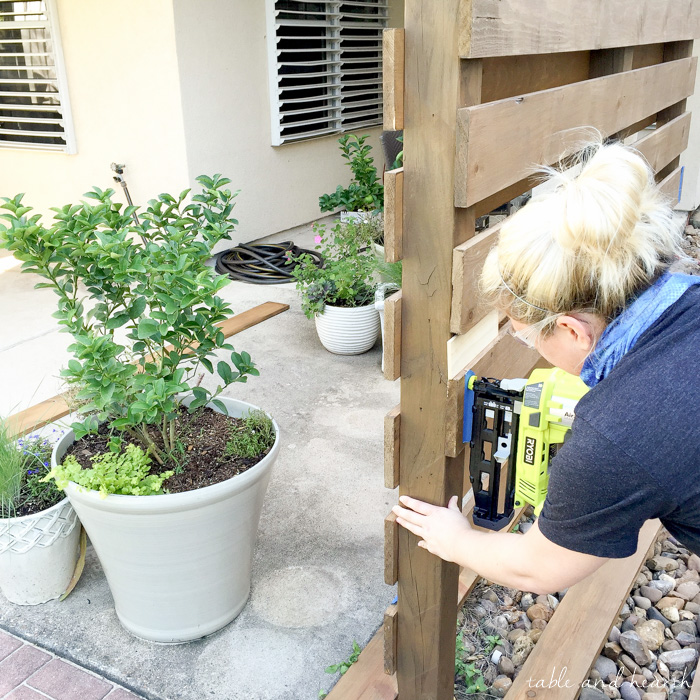
Finally, my turn!! This thing is quiet, smooth, and so much easier to work with than a gun with a compressor. Definitely the biggest game changer in my tool arsenal, and was invaluable for all the nailing this project needed.
Ok, so about that tape. By nailing through the tape during installation, it lets you go back and fill in those holes with perfect accuracy and no mess on your boards! First, I mixed the wood filler with some of the stain so the holes would be as unnoticeable as possible.
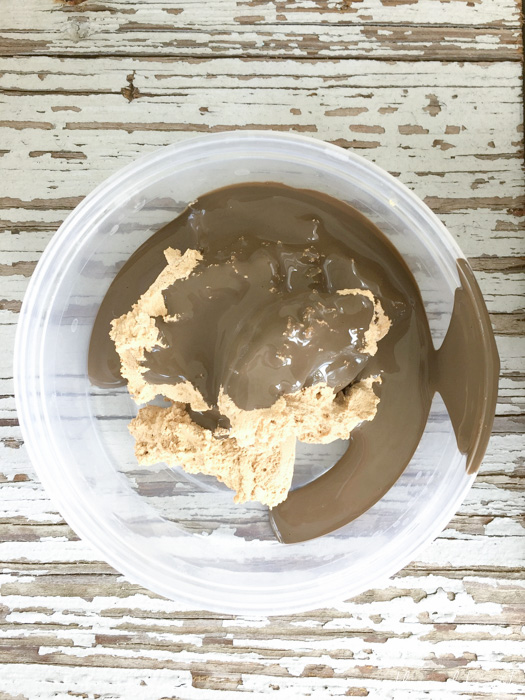
Then, I just dabbed some filler over all the holes then pulled off the tape while it was still wet (so it wouldn’t pull the filler out of the hole). Just a teeny tiny little blip of filler is all you can see!
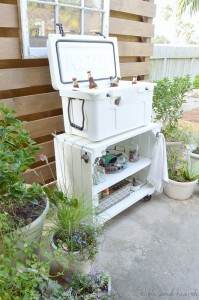
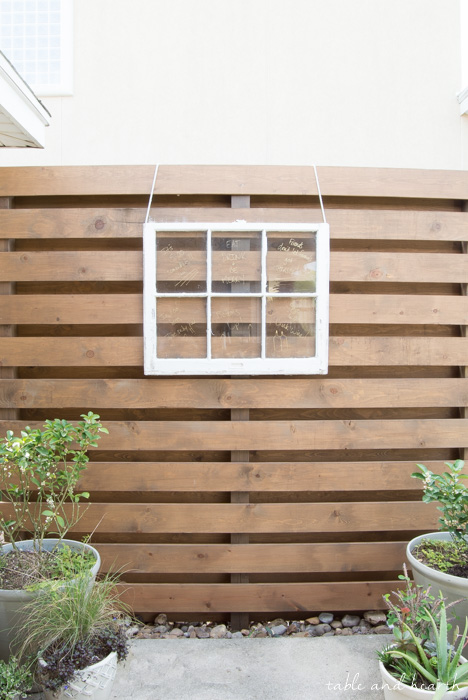
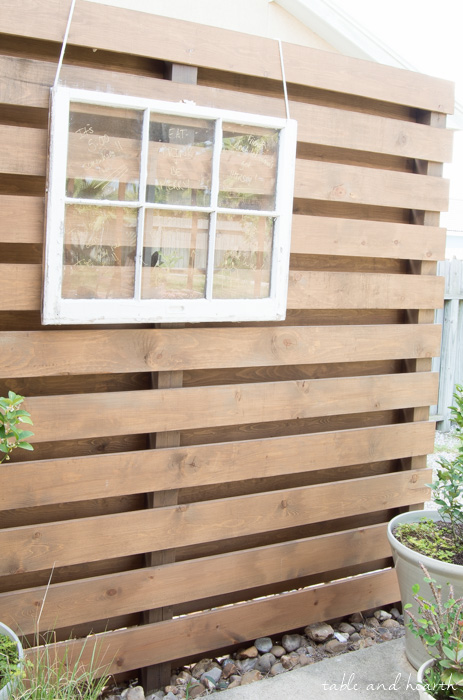
We hung a cute vintage mirror over the wall as a bar menu and now this little wall serves as a beautiful backdrop for our rolling bar cart, my new plants, and really makes my beautiful reclaimed wood dining table shine!
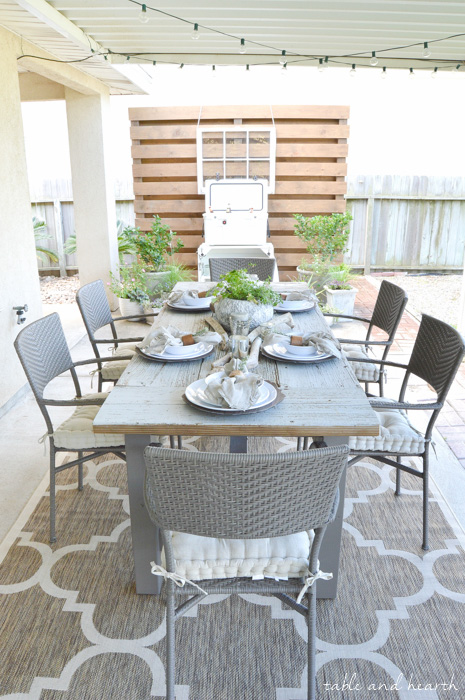
I know this wall isn’t really much of a privacy wall per se, given it’s only 8′ wide, but it’s still the perfect focal point for our patio and does block some of the huge ugly house next door to us.

With this and the other projects in the makeover, we have a beautiful new patio to enjoy this spring and absolutely cannot wait!!! Thanks for hanging with me for Spring Patio Week, we’re open for drinks any weekend!


long level

exterior stain

4″ brush

sander

nail gun

exterior wood filler

painter’s tape

1″x6″x8′ boards


How to DIY Shiplap

DIY Pergola

DIY Farmhouse Table from Reclaimed Lumber


I hadn’t ever seen that trick. Thanks for sharing. I adore how your plank privacy wall looks. It definitely adds to the space.
Isn’t it so smart?!? Anything that reduces cleanup and meticulousness is fine by me!
I can’t believe I’ve never heard of that wood filler trick before. I’ll definitely be trying that in the future! I just love how this plank wall turned out. It’s the best of both worlds, beauty and function. Great job!
Thanks so much Katie!! And it was so easy to put up too so bonus :)
Your new wall is beautiful! I could totally use one of those on one side of our deck. The painters tape trick is brilliant. I’m totally using that next time I need to fill holes!
Thanks Vineta!! Isn’t that the best little trick?!!
i really like it. i think it adds some nice natural and darker elements to your space…anchors it, too. enjoy your new private space!
b
Thanks so much!
Oh la la!! LOVE it! Your patio is soooo beautiful! Wanna do mine next? ;)
Thanks so much LZ! And sure!!!
Love it. It’s so beautiful. I may have to add this on the outdoor to do list.
Go for it Andrea! It makes such a great impact out there, we love it!
I am just getting ready to build privacy screens for the side of my veranda and I saw this at just the right moment! Love it but have a question – how did you anchor it to the ground???
Thanks so much for sharing.
Perfect Lis!! And I totally forgot to mention it in here but I was able to use the existing three 4×4 supports from the old wall. I just pried the lattice panels off of them then stained them before attaching the new boards. If you were installing them new, you would probably just cement them into the ground about two feet as you would for a fence or pergola. Thank you for asking for clarification, I’ll add it in to the post! Good luck and I’d love to see pics of them when you’re done :)
where’d you get that patio dining table?
I built the dining table out of some reclaimed deck lumber found in the neighborhood :) HERE is the full post on it