There are many areas of our home that are persistent toddler-magnets no matter what we do but our little guy has three favorite hotspots: my capiz shell windchime in the corner of the dining room, the floor lamp in the living room, and the fireplace. We don’t use our fireplace (#southTexas) but the wire screen and curtains still made it our highest priority to take care of. I needed something that was sturdy enough to keep him out but not completely ugly in our living room. As per usual, I turned to my ever-growing driftwood stash and came up with a driftwood DIY fireplace cover that solves both issues and is much more effective than the floppy wire screen we had before.
We’ve lived here for almost 10 years now and have used our fireplace one time…ONE. It was the first winter we were here and we were so clueless we didn’t think anything of the fact that our fireplace didn’t have any doors, just the mesh screen. So when we started a fire, we were so excited and proud of ourselves until it came time to go to bed, and as the fire turned to embers all the smoke came back into the house because we couldn’t close it off. It was HORRIBLE and there was black soot all over the floor and on the surrounding tile.
So, on top of being in South Texas and rarely having temps that warrant a fire, we definitely don’t use ours because of said door issue. That folding screen worked fine for years but now that a certain toddler is running around the house, it needed to go. I came up with a way to close it off and prevent little hands from getting back in there without sacrificing some style or making an eyesore with this DIY fireplace cover. Plus, it allowed me to make use of my beloved driftwood stash!
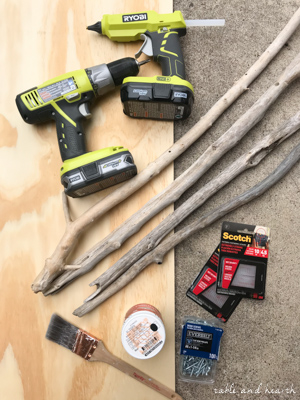
Driftwood DIY Fireplace Cover Supplies
 *affiliate links included for your convenience, click here to see my full disclosure policy
The hardest part of this project will be accruing branches that are long enough and straight enough. It was taking me quite a while so I ordered a handful to help nudge it along. If you’re making this out of tree branches instead of driftwood it would be much quicker :)
- 1/2″+ plywood board – measure your opening then add a couple inches to the three sides, I used a 48″x48″ board
- palm sander
- paint – I used black
- hot glue gun
- rapid heavy duty adhesive (this is my favorite)
- nail gun
- miter saw and/or jigsaw
- large velcro mounting strips
- loads of driftwood branches of varying widths that are as straight as possible and a few inches longer than the height of your board
Driftwood DIY Fireplace Cover Instructions
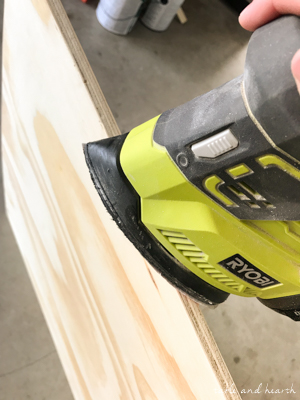
You can use any type of large board as the backing but you want to make sure it is thick enough to support the weight of the branches and also give you some room for nailing them in. I found a basic 48″x48″x1/2″ plywood board was the quickest and easiest thing to work with. I had mine ripped down at the store to the size I needed so all I had to do at home was give it a quick sanding to smooth it down.
I went back and forth on painting the board black or white. Black to mimic the fireplace opening, or white to blend in with the surrounding tile. I ended up going with black but still think white would’ve looked great too.

Once your back board is ready, start laying your branches out and mark where to cut them. You can choose to cut them twice and have them all even at the top, or leave them natural on one end like I did. I also wanted a few to be a bit taller than the board here and there so I cut them longer than others.
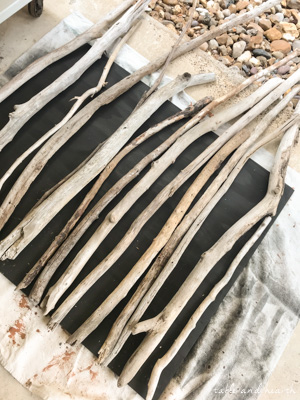

Using the jigsaw or a miter saw, cut them straight across. If you can lay them out on a miter saw it works better since they’re kind of hard to hold for a smooth cut.

Once they’re all cut, start arranging them to get the look you like. It takes some finagling to get them as close as possible without overlapping too much…I probably spent like two hours on this part lol!

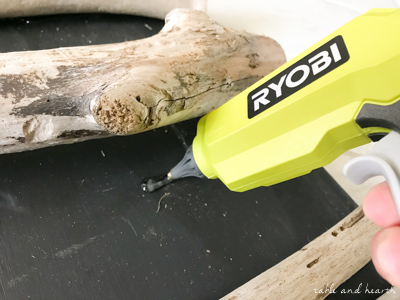
Since they want to roll around or lay a different way than you want them to sometimes, I used a combination of hot glue and rapid heavy duty adhesive to hold them how I wanted them until I could nail them in. Smaller pieces were fine being glued down though. Just make sure they are super secure, especially if it will be toddler-tested like mine!
Thicknesses of the branches vary quite a bit so some of your nails will poke through the back board some, so you can either go back and trim them off afterwards, or just ignore them since they’re facing a big hole anyway like I did.

When you have them all secured and ready to go, stick your velcro strips on the back, one in each corner, then follow the instructions to stick it over your fireplace. Once it is mounted it doesn’t budge one bit and is quite hard to remove if you have to, which is great for any prying little fingers.


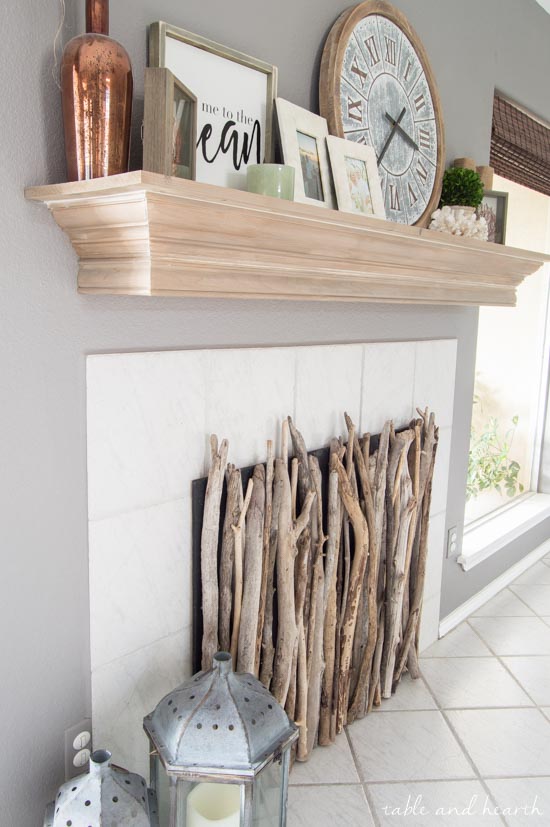
I am so happy with how this came out, it’s definitely in my top 10 projects for sure! It’s such a simple design but packs a big focal punch for a DIY fireplace cover. On top of being such a fun focal point, it’s deterred the little and after he figured out the sticks weren’t budging, he has been completely uninterested in this area now.

I love all the shades of weathered wood they have and all the different textures, plus how some go rogue and had to curve over others so they’re not all perfectly lined up.

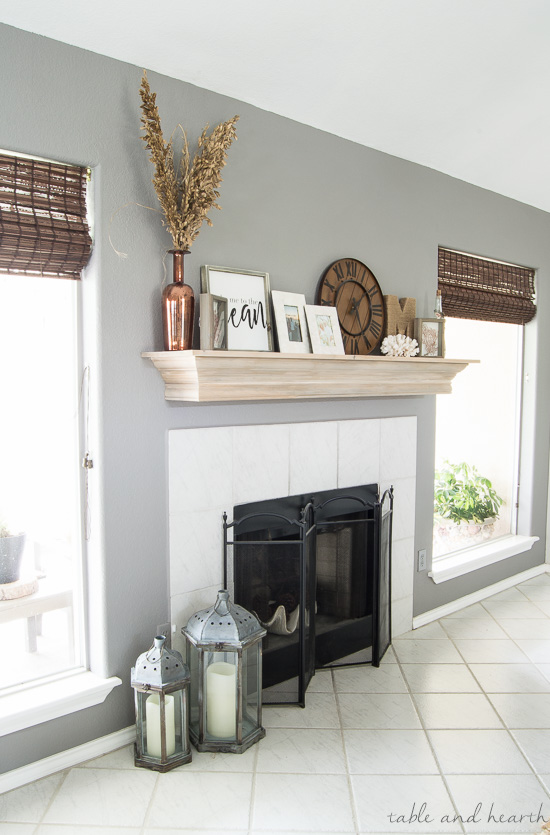
Its colors also compliment our made-over mantel which is also stained in a driftwood finish. By ditching the old metal screen we also freed up about a foot in front of the fireplace which is always a bonus in a smaller home with a crazy little boy doing laps all the time.
This DIY fireplace cover ended up being the perfect solution to a handful of frustrations around here, plus I’m always looking for any excuse to decorate with more driftwood!

What creative ways have you baby-proofed areas in your home?
Were your littles drawn to the fireplace too??


miter saw

nail gun

jigsaw

hot glue gun

sander

RapidFuse

velcro strips

paint sample

3″ brush

plywood sheet


How to Make a Driftwood Mobile

Driftwood and Acorn Garland

Driftwood Tree Skirt


Share this!
I love driftwood also! We spent the winter of 2015/2016 in the panhandle of Florida and I fell in love with the area. The white sand, the waves, shells, driftwood and the weather!! I was thinking about putting driftwood around our fireplace, but was afraid the heat would make them fall off. I live in Iowa and we use the fireplace a lot in the winter. Plus our dog loves the heat from it. She will sit in front of it just to remind me to turn it on! I loved the “screen” you made to keep your little one away from the area. Great idea! I look forward to other ideas for driftwood!
Oh I bet that was beautiful Carol! I’d have reservations about putting driftwood around a fireplace too, but I’m sure you could decorate the mantel or another area of your home with it :)
This is just so smart Emily, one of those “why didn’t I think of that!” ideas lol ! A beautiful display and practical, love it!
Thank you Julie! I’ve had the idea for a while but never could figure out a way to attach it securely to the tile, but then the miracle that is Command Strips finally dawned on me, lol!