I know, it seems like forever since there’s been an update on the front door project, but I’m sure anyone who has done a large-ish home project understands the expected scheduling hangups and delays, then add in the holiday breaks…and here we are. BUT, all that matters is that the door is in, and oh my gosh, I can’t wait until the final reveal!!
However, before that happens, I wanted to do a post about the installation process since I A) wasn’t totally sure how this would work on our stucco home, B) didn’t find many resources about replacing a full unit on a stucco home, and C) ran into a handful of contractors who refused to do this type of work on a stucco home. So just maybe this will help someone else who is also wanting to replace the entry door unit on their stucco home (hint… it CAN be done, lol!).
Where We Started
Here’s a quick refresher of our old door. Still definitely functional and could be worse, but it just didn’t feel like us or really match the style and decor of our home. I wanted something eye-catching and special that would stand out on the long walls of beige stucco. We’ve worked so hard to update all the blatant 90s finishes around here, yet the very first thing guests see at our house may have been the worst thing left of them. Not to mention the trim was dry rotted, paint was chipping, and the handleset was corroded thanks to Hurricane Harvey.
As excited as I was about never looking at this door or those blocks again and having a beautiful new Therma-Tru entry unit, this was definitely not a project we were going to try and DIY. First, we don’t do demo well around here at all. It’s just too dramatic and messy for us to handle and it gives us both anxiety, plus… a toddler. Second, we’ve learned work on anything stucco is a nightmare, anything dealing with it we’ve ever come across was frustrating and stressful and anything we’ve had to hire for it was way more expensive than we expected. Third, and most important probably, was that this all needs to be in line with the windstorm codes for our area and we wanted to make sure it was installed in the strongest, most correct way possible.
I met with a number of local businesses, small and big box, to do the installation and they either wouldn’t work on stucco homes at all or seemed too insecure about the project and working on stucco for my comfort. Given the extended timeframe that local contractors are working with post-Harvey and knowing when the door would come in, I started getting really worried that I wouldn’t find anyone to do this installation in time, if at all.
Then I finally met with Kurt from Innovo Renovations and I knew we were ready to get this thing rolling. He was very confident in the project, respectful, and flexible with our timeline. The plan was to do all the demo and get the new unit installed on the first day, the second day would be trimming it all out, and then a few days to complete the final stucco work. I expressed my nervousness about working with the stucco, wonky-ness we tend to find during projects on our house, if they could really get the new door in that first day, and just about a large-scale demo in general, and he reassured me over and over again that they were confident in what needed to be done and that it would go quickly and smoothly…and it did.
The Installation
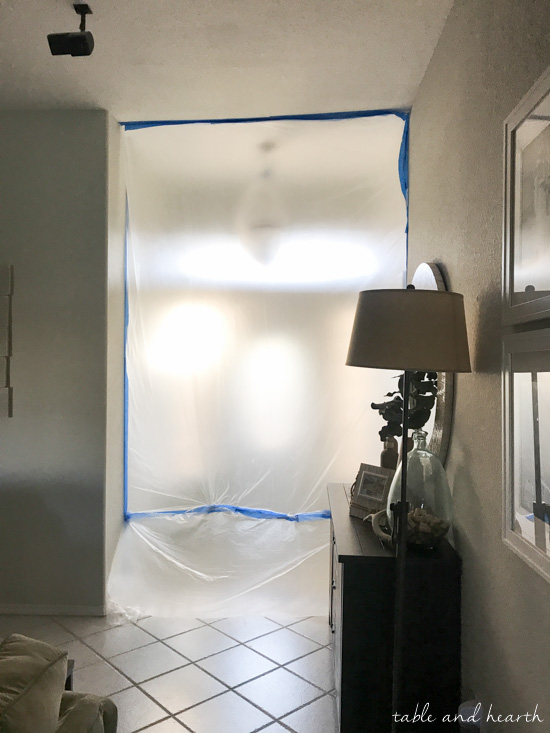
The crew showed up right on time and got to work prepping everything. To keep as much dust and disruption as possible out of our living space they sheeted up our entryway from top to bottom. I was bummed that I couldn’t watch what was happening from the inside, but also relieved that I couldn’t watch what was happening from the inside, lol.
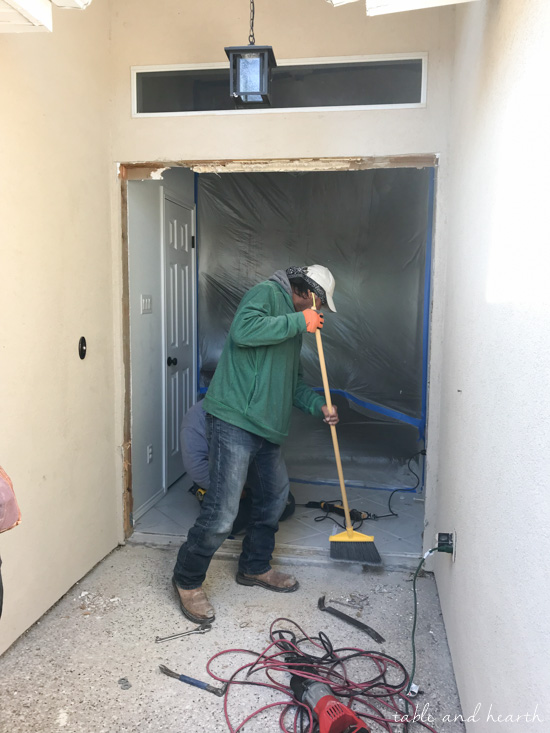
Lots of chipping and banging later, the opening got bigger and bigger over the next few hours. I snuck out every hour or so to get a peek at where they were at and snap a picture (the crew was nice and understanding of my weird photo-taking for the blog). They were great about not completely demolishing all of the components when they removed them and we were able to save our old door to give to my father-in-law and they kept the glass blocks.
Around lunchtime the demo was all done and we had this big scary gaping hole in our house. It looked so big all opened up like that! Over the next few hours they worked to frame out and install the new unit. A few weeks before the install, Kurt forwarded the door specs from Therma-Tru over to his windstorm inspection person then the install followed our local windstorm guidelines which specifies things like what type of screws to use, how far apart the screws must be, and various other rules.
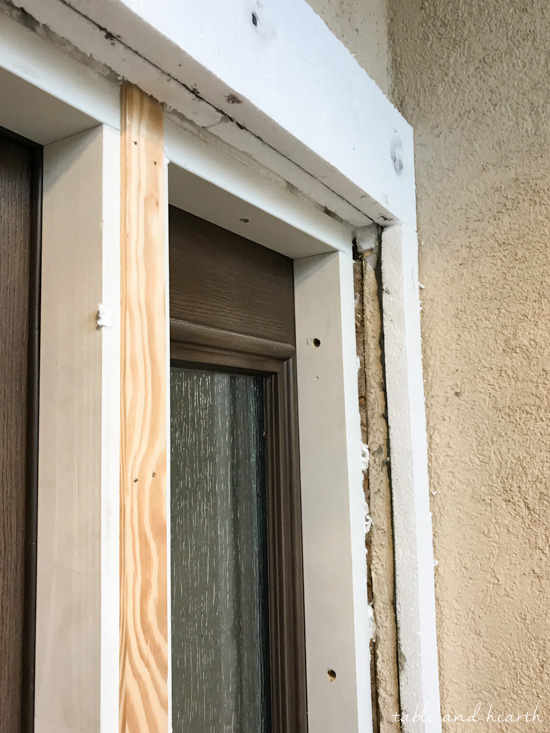
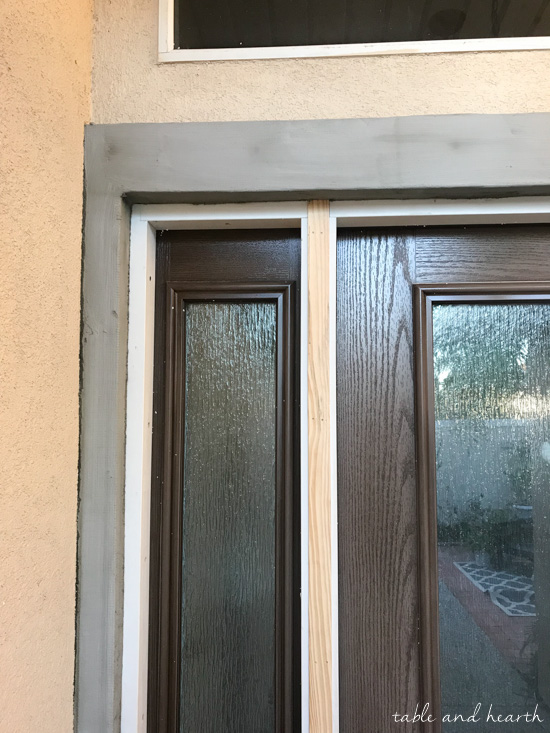
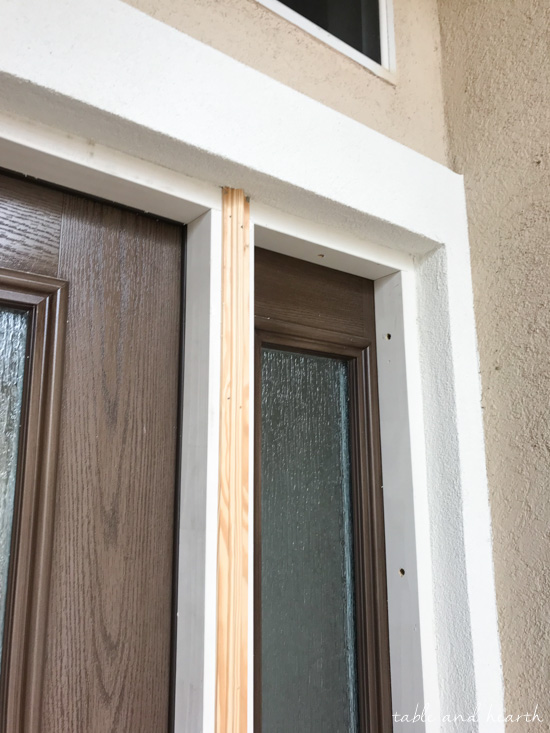
At the end of the first day the unit was in, they installed our new handleset, put up all the wood trim work on the unit itself as well as the trim on the inside of the house, and added some spray foam to any openings around the door in preparation for the stucco trim work starting the next day. The next day stucco work began on the exterior and things started to really turn around. They started by putting up the styrofoam base for the trim, then the next day they put the stucco base down, and the last day they applied the final white coat of stucco.
If you caught it, in the middle of the stucco work I decided to add another small piece to the vertical trim on the exterior to give it a little more dimension. Couldn’t do this without one little bit of some DIY ;)
I originally planned to do all the painting and grout repair myself, but we were getting close to Christmas, I had already taken quite a few days off work for this, and just wanted it done and pretty, so I added those on with Kurt for a small extra cost. He had his cabinet painting and grout guy come by after all the stucco work was done to paint all the wood trim inside and out then grout where they had to chip away the old door from our tile inside the house.
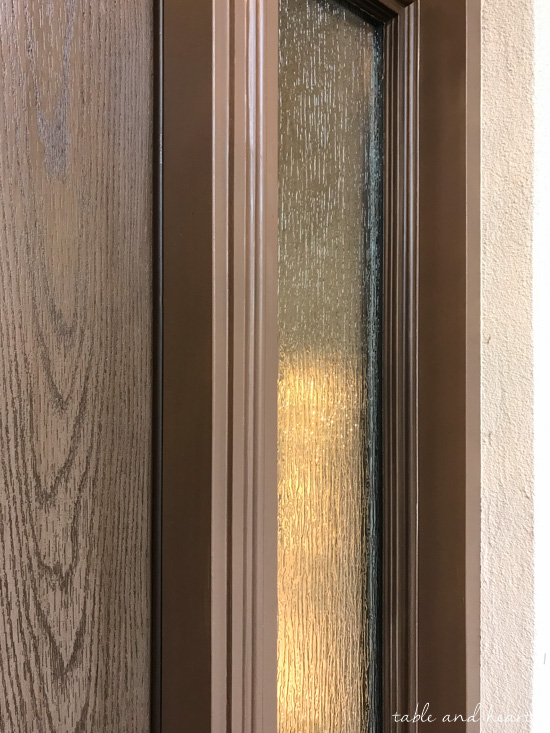
I went back and forth on whether to do the vertical mull posts in white like the overall trim would be, or paint them a color similar to the door. I’ve seen beautiful examples of both so it was a tough decision, but in the end I decided to match to the door to have a more cohesive look. Since the door is stained to look like wood but the frame and trim weren’t stainable, I had to try and match its tone as best I could and Sherwin-Williams’ Cobble Brown (SW6082) ended up being the closest match I found. Kurt prefers to work in Behr so I got a quart of their Marquee Exterior Paint + Primer in semi-gloss enamel matched to the Cobble Brown.
After all the stress and worry about how this installation would go, it was all worth it with the beautiful door we have to look at everyday now! This was the most intense project we’ve had done at our house demo-wise but it definitely had the most payoff. Now it’s really hard to picture what we had here before. The new door has such a timeless look that blends in so well with the rest of our house, inside and out. Not only is the wood-look a perfect accent to our exterior, it’s a perfect accent inside our house as well.
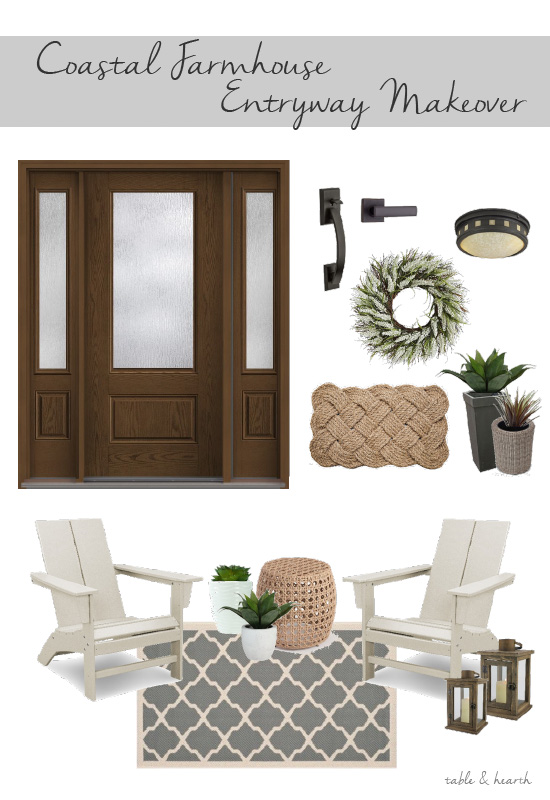
Now it’s time to get it all styled up and ready for the big debut! I can’t wait to share it with all of you so you can be as blown away by the transformation as we are. It’s looking a lot like my original inspiration board, but of course I can probably squeeze in a few more plants and pretties :)
New around here? Click on these thumbnails to catch up on the other posts in this project series!
*this series has been sponsored by Therma-Tru. We are so thankful for a brand who cares about our home’s integrity and has such quality products and reputation. Thank you for supporting the brands that support this blog, click here to see my full disclosure policy.

Share this!


