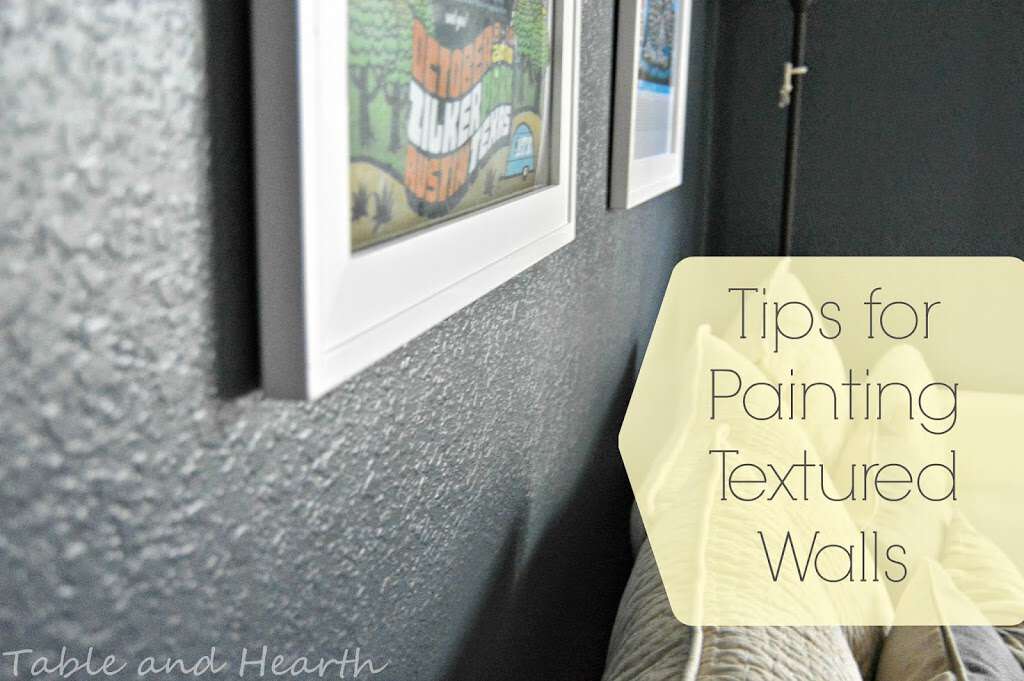
Since I have been on a painting resurgence around our house for the past year or so (the kitchen, the guest and master bathrooms, wainscoting, our office, the living room accent wall, and next the guest room), I have honed in on a few must-have things that make doing it soooo much easier, particularly for our highly textured walls (which I hate).


** Affiliate links included for your convenience!
Unfortunately, it has taken me a few years and a few rooms to get this down to a science but finally I have a way that works well and makes it fast, at least for me. Some of these are just basic preferences, some are tools that make it easier. The problem I ran into was alot of the tips and tutorials online (like cutting-in) work great for the lucky ones that have smooth walls but every home I’ve been in down here, especially post 1970ish, has textured walls and it doesn’t work well at all. I have found that particularly, I can’t cut-in with a brush and I have to take measures to make sure paint gets in all the texture nooks and crannies.
So, here they are, in the midst of office painting (all dirty, when I finally realized I needed a picture for this :/).

1. The baggie-over-the-tray method
I’ve done the foil-lined-tray method before but the sheets weren’t wide enough so I had to overlap two and the paint leaked through. But this way, as long as your bag is big enough to tie around the end, you’re golden. And I like that when I’m done, I can toss in any other disposable stuff, grab the roller through the bag, and wrap it all up dog-poo-style and throw it in the trash, done and done! Plus, this way means you have to get more things at Target and HomeGoods so you’ll have big bags ;)
2. The ShurLine edger
This is by far the biggest game-changer for me. If I weren’t married I would marry a ShurLine. This little dude is the cutter-inner for textured walls. As long as you keep his tabs and wheels clean and do a couple of passes back and forth, you get a straight-as-it-can-get edge and don’t have to come touch up texture that doesn’t get filled. It is soooo much faster not trying to cut-in around doors and baseboards anymore and it is easy to clean cause it has disposable pads (that get wrapped in the bag dog-poo style, remember?) Icing on the cake is it’s only $5!! But, I have tried a knockoff of this that was horrible, it didn’t have the little guard tabs that lifted up, just the pad. So stick to the actual ShurLine, and get the one that has the black tabs that lift up (not the one without them), for shur.
3. High nap roller
The key to getting paint in all the stupid nooks, crannies and holes of textured walls is having a high-quality high-nap roller, like 3/8″ or more. It has taken me up until painting the office last week to figure this out somehow and for it, I got the Purdy White Dove 3/8″ nap. That thing held a TON of paint and could do a large swath without having to be refilled and with the high nap, you don’t have to press hard to fill the crannies, the roller does the work for you. Up to recently, I used maybe a 1/4″ nap cheapo roller that left missed areas everywhere as well as shed little fuzzies into my paint and onto my walls. I either had to press super hard on the roller to get paint in the nooks or go back and touch all of them up. Also, as much as I am against being wasteful and reusing as much as possible, do not rinse and reuse your paint rollers. Learned this the hard way. They never perform as well and if they are cheapos like I always had, the fuzzies exponentially increase the second time around :/
4. My ‘Lil Stubby
That’s not what they’re called, that’s just what I call mine :) It is the Premium XL Tight Spots 2″ short handle. I get them at my SW store but I think they are at the big boxes too. I first heard about them from Sherry at YHL (of course) who swears by them and I see why. They are so comfortable to hold and the bristles stay nice and smooth and don’t separate. Again, beware of cheaper knockoff versions though, I got a cheapy from Home Depot and it is crapola, flimsy handle and its bristles poke out all the time and get paint everywhere. This little dude is perfect for getting into tight spaces and is just much more comfortable to hold. I use these guys all.the.time.every.where. All of our bedroom wainscoting was painted with one :)
So this is probably a no-brainer for everyone and is pretty silly to put on a feature but switching from a plastic sheeting to a real canvas drop cloth has saved my sanity while painting. I, once again, would grab the cheapy $1 plastic drop sheeting to use. It seemed good at first, but after the first stepped-in drop of paint I would go psycho fighting the stupid plastic stuck all over my feet the rest of the day, usually ending up being stuck to the painted wall as well somehow. Makes me freak out just thinking of that stuff. I finally got the “fancy” canvas drop cloth and am calm once again. It’s not like they are way more expensive or anything, maybe $15? But they keep their shape, slide around with you, don’t stick to you, and are reusable. I use mine under everything. It’s kind of like a cookbook, the more crap that’s on it means how good it is.
Anyway, those are the little things that I have found super useful for painting our textured walls. There is still the fair share of missed spots, touching-up, wiping off, and general “oops” moments so not to say other things aren’t better, or that these aren’t great all the time, it’s just what works for me. Hopefully at least one of them will help you too, that’s what all this OCD rambling is for anyway :)
Have a good weekend!!


Found you through Oak and Oats! I love all the updates you have done in your pretty home! I totally would have done the same thing with the paint samples – so glad the second coat covered them up!
-Elise
polkadottedbluejay.blogspot.com
Hi Elise, thanks for visiting! Love Oak and Oats :) Man, yes, these guys were hard! First to try and make a decision among them, then the freak out of them showing through, ugh!!!
Great tips! We’re actually texturing some walls today in our home but thankfully we don’t have to do around the baseboards or ceiling but good to know about shurline edger for the future. Thanks for sharing at our Motivational Monday party! Be sure to stop by again tomorrow to link up another post.
Of course! I saw your picture of that! I always wondered how that stuff got applied :)